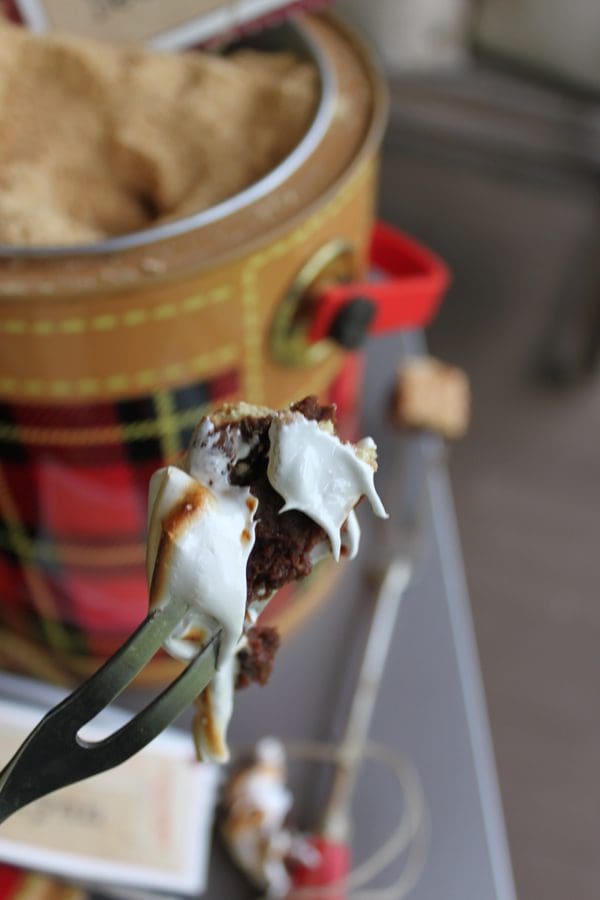

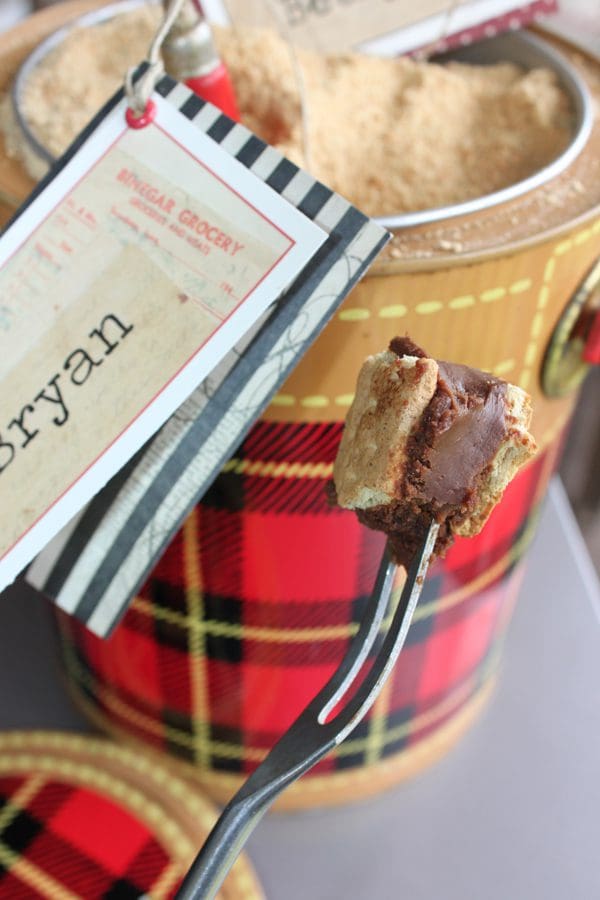
More assembly instructions than detailed baking how-to, this interactive (read: get-your-hands-dirty) dessert is infinitely adaptable! The concept? Each party-goer gets his/her own personalized roasting fork to deck out to taste. Here, I give two options for topping the forks: a s’mores-like treat involving a flourless chocolate cake and graham crackers, as well as a more upscale Raspberry-Truffle Brownie Bar from my book Cookie Swap. But don’t let my options limit your guests’ choices; you can hide almost any soft sweet under the marshmallow. And, I assure you, guests will hang around your campfire (or grill, as the case may be) as long as it takes to try out everything!
Yield: Many dozen fork-bites, probably more than can reasonably be eaten in one sitting!
Prep Talk: Bake the cookie-cake pop insides, be they brownies, cookies, and /or cake, several hours before you plan to assemble the forks. The insides must be completely cool, or they may be difficult to cut into tiny cubes and will definitely melt the homemade marshmallow that goes on top. The marshmallow is best used within 30 minutes or so of completion, before it gets too solid to easily pipe onto the cookie-cake insides.
Ingredients:
Non-Food Stuff:
Cookie-Cake Pop Insides – Take Your Pick:
or
Homemade Marshmallow:
Method:
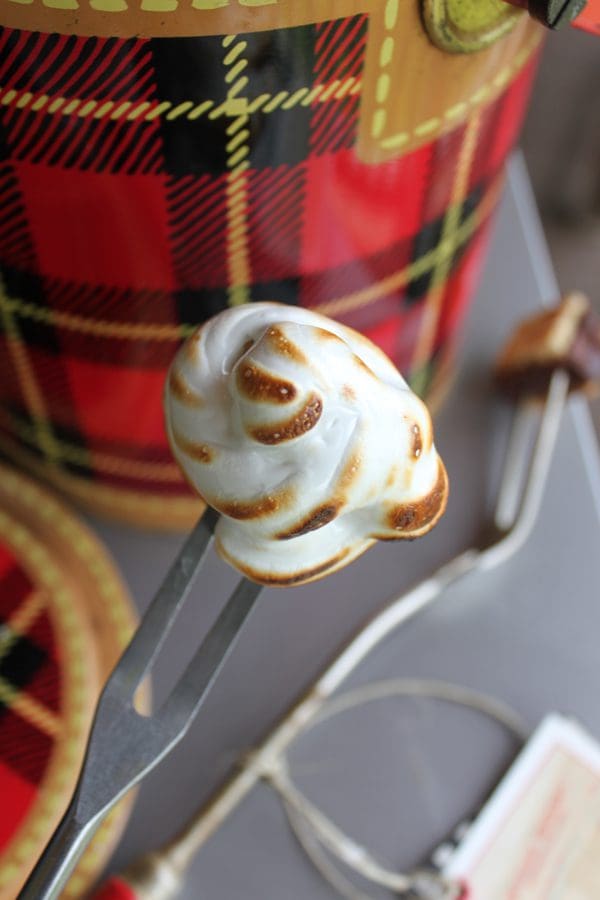
1 | Prep and personalize the roasting forks. You could use sturdy sticks rather than roasting forks, though both the flourless chocolate cake and brownie recipes, listed above, are rather dense, so they’ll be more likely to stay put if skewered onto a two-pronged fork. As you may know by now, I’m a big fan of personalizing party details, so I tied one of my Easy Ephemera Name Tags to each fork, though other tags, different color ribbons, or some other way of distinguishing each fork could also work. For Easy Ephemera Name Tag project details, click here.
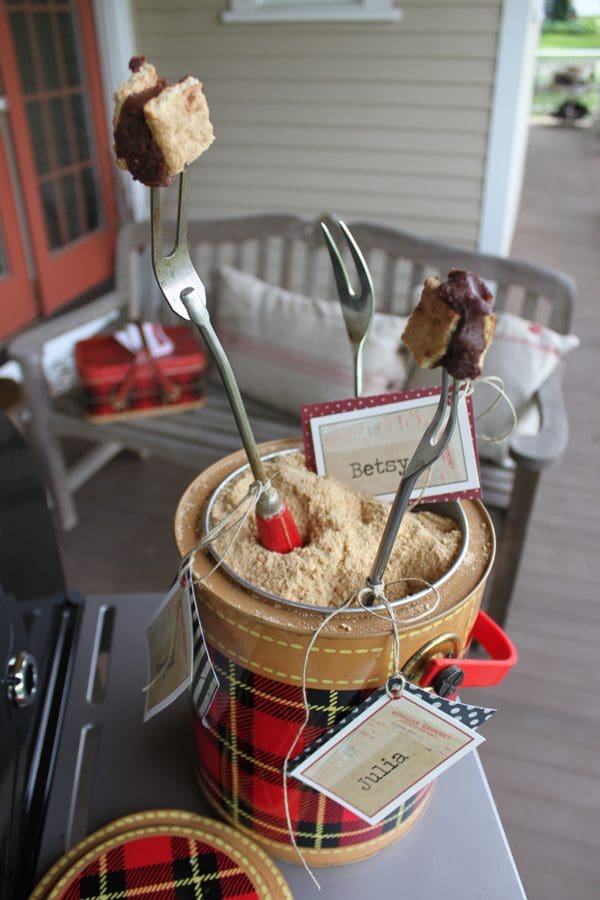
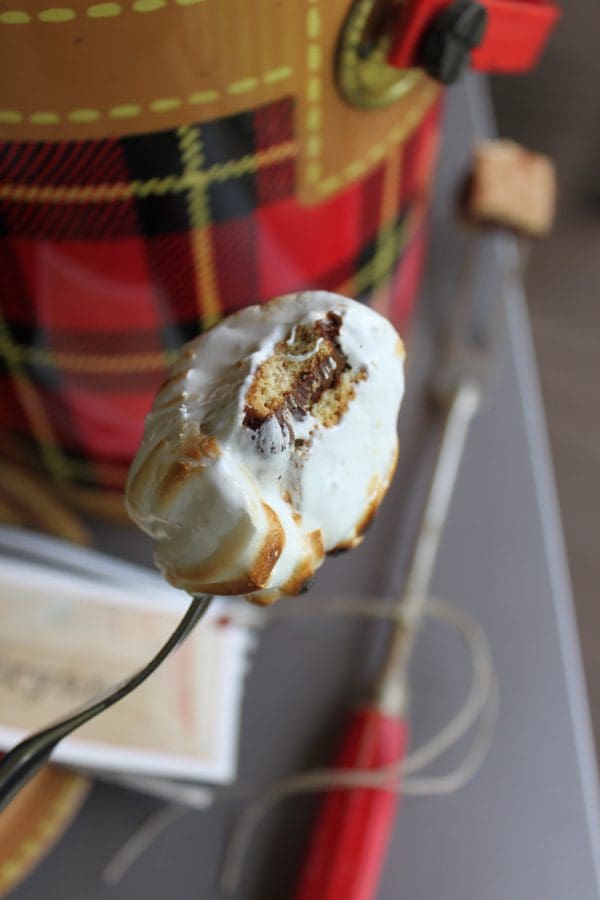
Next: choose your insides! (I give two options above, and the flourless chocolate cake-graham cracker “sandwich” option is pictured right.) Cut the cake or brownies into small cubes and stick a cube on the end of each fork. Set the forks in the freezer or refrigerator until the marshmallow is finished and ready to pipe. If the insides are chilled, they will hasten the setting of the marshmallow and help it to retain its shape as it’s toasted in Step 3.
2 | Make the marshmallow. Combine 1/2 cup water, the granulated sugar, corn syrup, and salt in a medium (3-quart) saucepan and set over medium-high heat. Bring the mixture to a boil, stirring as needed until the sugar has dissolved. Cover for a few minutes to allow any sugar crystals on the side of the pan to dissolve; then uncover and continue to boil, without stirring, until the syrup registers 238°F to 240°F on a candy thermometer. (Alternatively, when ready, a drop of syrup will form a soft, malleable ball when placed in a cup of ice water.)
While the syrup is boiling, pour the remaining water into the bowl of an electric mixer fitted with a whip attachment. Slowly sprinkle the gelatin over the top, waiting for one package to be completely absorbed by the water before sprinkling the next. Allow the gelatin to sit until it is thoroughly moistened. (If a few dry spots remain on top, leave them be. Do not stir or the gelatin will get lumpy.)
Add a few tablespoons of the hot sugar syrup to the gelatin mixture to begin to dissolve it. Turn the mixer to medium speed, and add the remaining hot sugar syrup in a slow, steady stream. When all of the sugar syrup has been incorporated, quickly scrape down the sides of the bowl. Turn the mixer to high speed and beat until the mixture is thick, glossy, and very white, about 7 to 10 minutes. (You will hear the cadence of your mixer change as the meringue approaches the proper thickness. The meringue will also cling in a large mass to the beater when it is ready.) Add the vanilla extract in the last few minutes of beating.

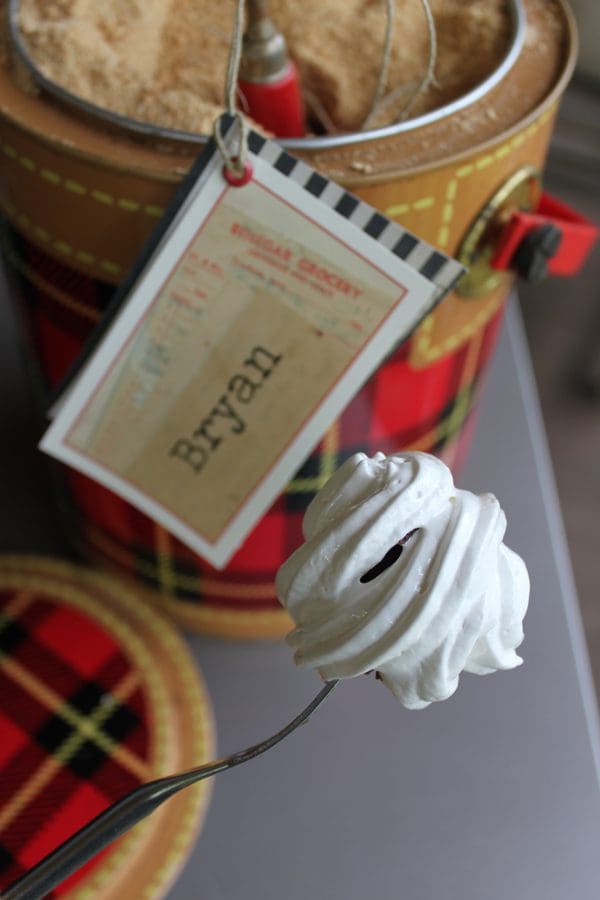
3 | Pipe the marshmallow onto the insides and toast, fast! Turn the marshmallow into a pastry bag fitted with a large (#843) star tip, and pipe marshmallow around each cookie-cake cube to completely conceal it. (Or dollop on the marshmallow, if you don’t have a pastry bag.) Immediately toast the marshmallow pop to a golden brown over your grill or a gas-fired burner. Then eat quickly! Sans stabilizers, homemade marshmallow will soften more rapidly than the store-bought ilk once it’s subjected to heat. Plus, why on Earth would you want to wait when presented with such a luscious treat?!