
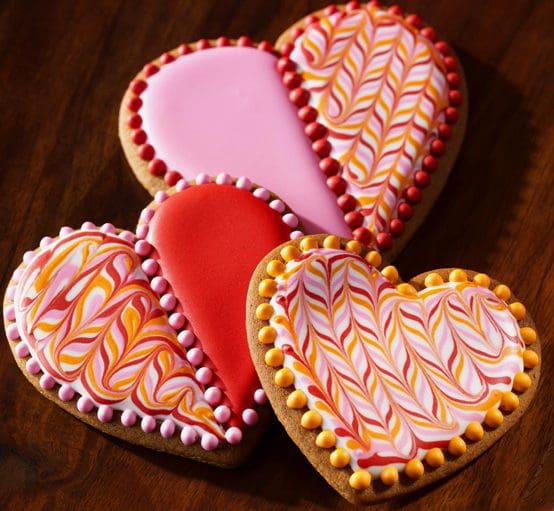
Marbling is responsible for the wonderfully intricate, Italian watermark-like patterns on the various cookies, pictured right. While marbling gives the appearance of being complex, it’s actually one of the quickest and most forgiving cookie decorating techniques around. The technique looks best when three or more colors are used – one for the top coat and two or more that get applied on top of that coat with a parchment pastry cone. Read on or check out Lesson 9 in my video series for even more technique details!
What you’ll need:
Method:
1 | Begin by mixing your icing colors with liqua-gel food coloring (sharply contrasting hues will work best); then adjust all icings to the same topcoating consistency, or slightly thicker. (See the consistency adjustments in my Royal Icing recipe.) Transfer all icings but the one for your top coat into separate parchment pastry cones (or plastic baggies), and cut a small hole in the tip of each cone. Be sure to have all of your cones ready to go before you start, as the key to this technique is working fast before your top coat sets up.
2 | Work with one cookie at a time. Apply a top coat with the designated icing and then quickly pipe lines or dots of the other icing colors on top. Immediately draw a metal trussing needle (aka turkey lacer) or toothpick through all of the icings to create a marbled effect. An aside: I prefer trussing needles to toothpicks, because they can be washed and used over and over again. Plus, they tend to be a tad thinner, which leads to sharper, more well defined patterns. Again, to avoid “tracks” in the icing, work quickly before any of the icings start to set.
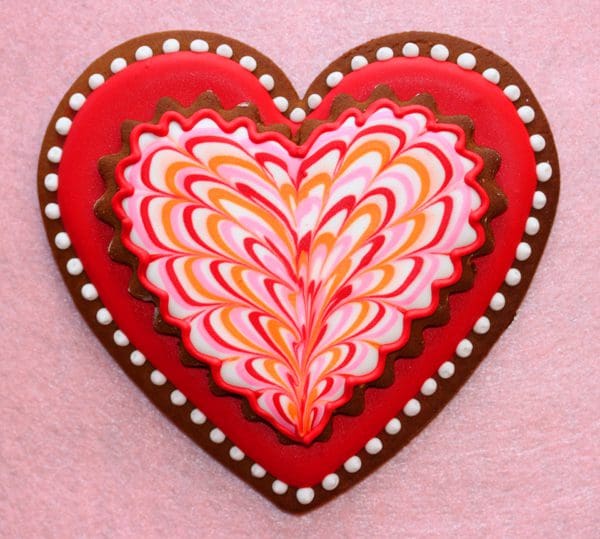
Note: Countless patterns can be made by varying the way in which you pipe the icings onto the top coat (i.e., in dots or lines, thick or thin lines, straight lines or circles, etc.) and/or draw the trussing needle through the icing (i.e., randomly or in a regular pattern). To make the simple herringbone pattern on the heart cookie (foreground, top right), I first topcoated with white icing. I then piped red, orange, and pink icing in parallel lines running diagonally across the cookie top. Lastly, I drew the trussing needle back and forth in one continuous motion, in a direction perpendicular to the lines.
For the pattern on the heart in the second photo, I used similar icing colors, but got a completely different effect by first piping the icing in concentric heart shapes on the top coat, and then drawing the trussing needle perpendicularly through the piped icing toward the heart center.
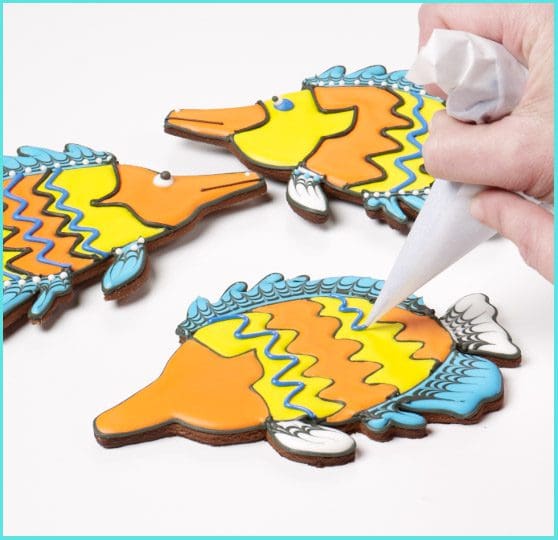
For the fins on the fish, I piped 2 to 3 black lines across each fin, and then drew the trussing needle in separate strokes perpendicularly through these lines, starting at the inside edge of the fin and moving to the outside edge.
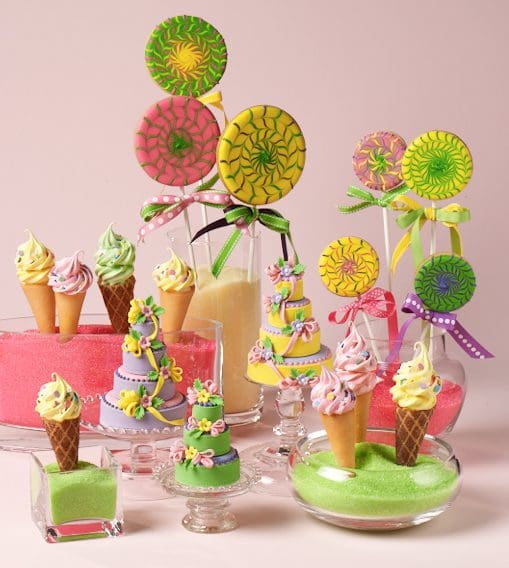
For the “lollypalooza” pattern on the cookie lollipops (second photo from bottom) in my book Ultimate Cookies, I piped different color lines through the center of each round, and then drew the trussing needle in 4 or 5 concentric circles through these lines, alternating the direction of the needle with each circle.
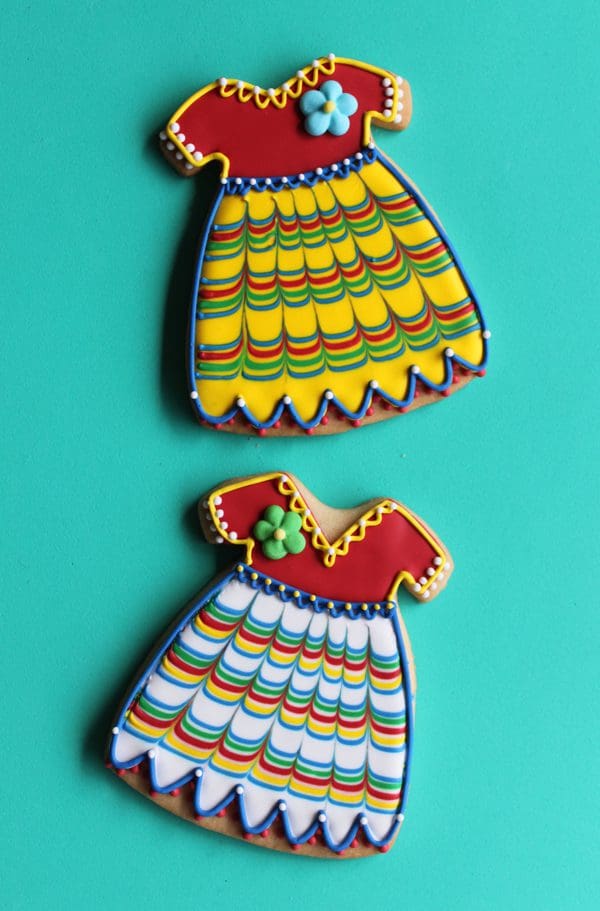
And for the pattern on the fiesta dress skirts, directly above, I used another palette of colors, piped lines horizontally across the skirt, and then drew the trussing needle in 6 separate strokes from the bottom to the top of the skirt.
Again, check out Lesson 9 in my video series, available on DVD here or in the link below, for even more patterns and technique details!