

Moms, this tasty sandwich is as close to the perfect Mother’s Day cookie as you’ll find. Whether a gift from your kids to you (start dropping the hints now) or something you make together as a family project, it is bound to please through a combo of classic, kid-friendly flavors and clever design.
Yield: 2 dozen (3-inch) sandwiches
Prep Talk: For easiest handling, chill the dough at least 3 hours before rolling. Store unfilled cookies in airtight containers at room temperature up to 1 week. Once filled, the cookies are best eaten within a few days, as the cookies will soften next to the jam.
Ingredients:
Method:
1 | Combine the flour, baking powder, and salt in a small bowl. Set aside for use in Step 3.
2 | Place the peanut butter and butter in the bowl of an electric mixer fitted with a paddle attachment, and beat on medium speed until well combined. Gradually add the brown and granulated sugar. Turn the mixer to medium-high speed, and beat 1 to 2 minutes longer, until light and fluffy. Add the egg and vanilla extract. Mix until well combined. Scrape down the sides of the bowl, as needed, to ensure even mixing.
3 | Turn the mixer to low speed, and gradually add the reserved dry ingredients, mixing just until incorporated. Divide the dough into two equal portions, and flatten each portion into a disk. Wrap tightly in plastic, and refrigerate at least 3 hours, or until firm enough to roll without sticking.
4 | Position a rack in the center of the oven, and preheat the oven to 375°F. Line two or more cookie sheets with parchment paper.
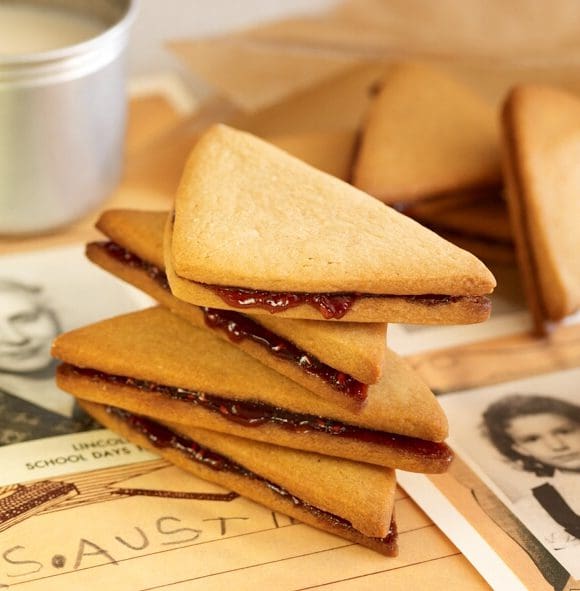
5 | Work with one disk of dough at a time. On a lightly floured surface, roll the dough to a 3/16-inch thickness. Cut into squares using a 2 3/4-inch square cookie cutter, and then cut each square along the diagonal into two triangles. (Should the dough get too sticky to easily roll at any point, simply return it to the refrigerator or freezer until it has firmed up. Chill any scraps before re-rolling.) Place the triangles about 1 inch apart on the prepared cookie sheets, and bake 10 to 12 minutes, or until golden brown around the edges. Immediately transfer to wire racks, using an offset spatula to prevent breakage. Cool completely. Repeat with the remaining disk of dough.
6 | Preheat the broiler. Turn half of the triangles upside down on a cookie sheet, and top each with 1 1/2 level teaspoons jam. Spread the jam into an even layer with a small offset spatula, covering the cookie as completely as possible. Place the cookies under the broiler, in the top third of the oven, for 1 to 2 minutes, or just until the jam begins to bubble around the cookie edges. (Watch carefully, as the jam and any exposed cookie edges can quickly burn.) While the jam is still warm, top each cookie with another triangle and gently press together. Transfer the cookies to wire racks, and cool completely before storing. (Note: As the jam cools, the sandwiches will hold firmly together without sliding. The bottom cookie, which may have softened under the broiler, will also return to its original crisp state.)