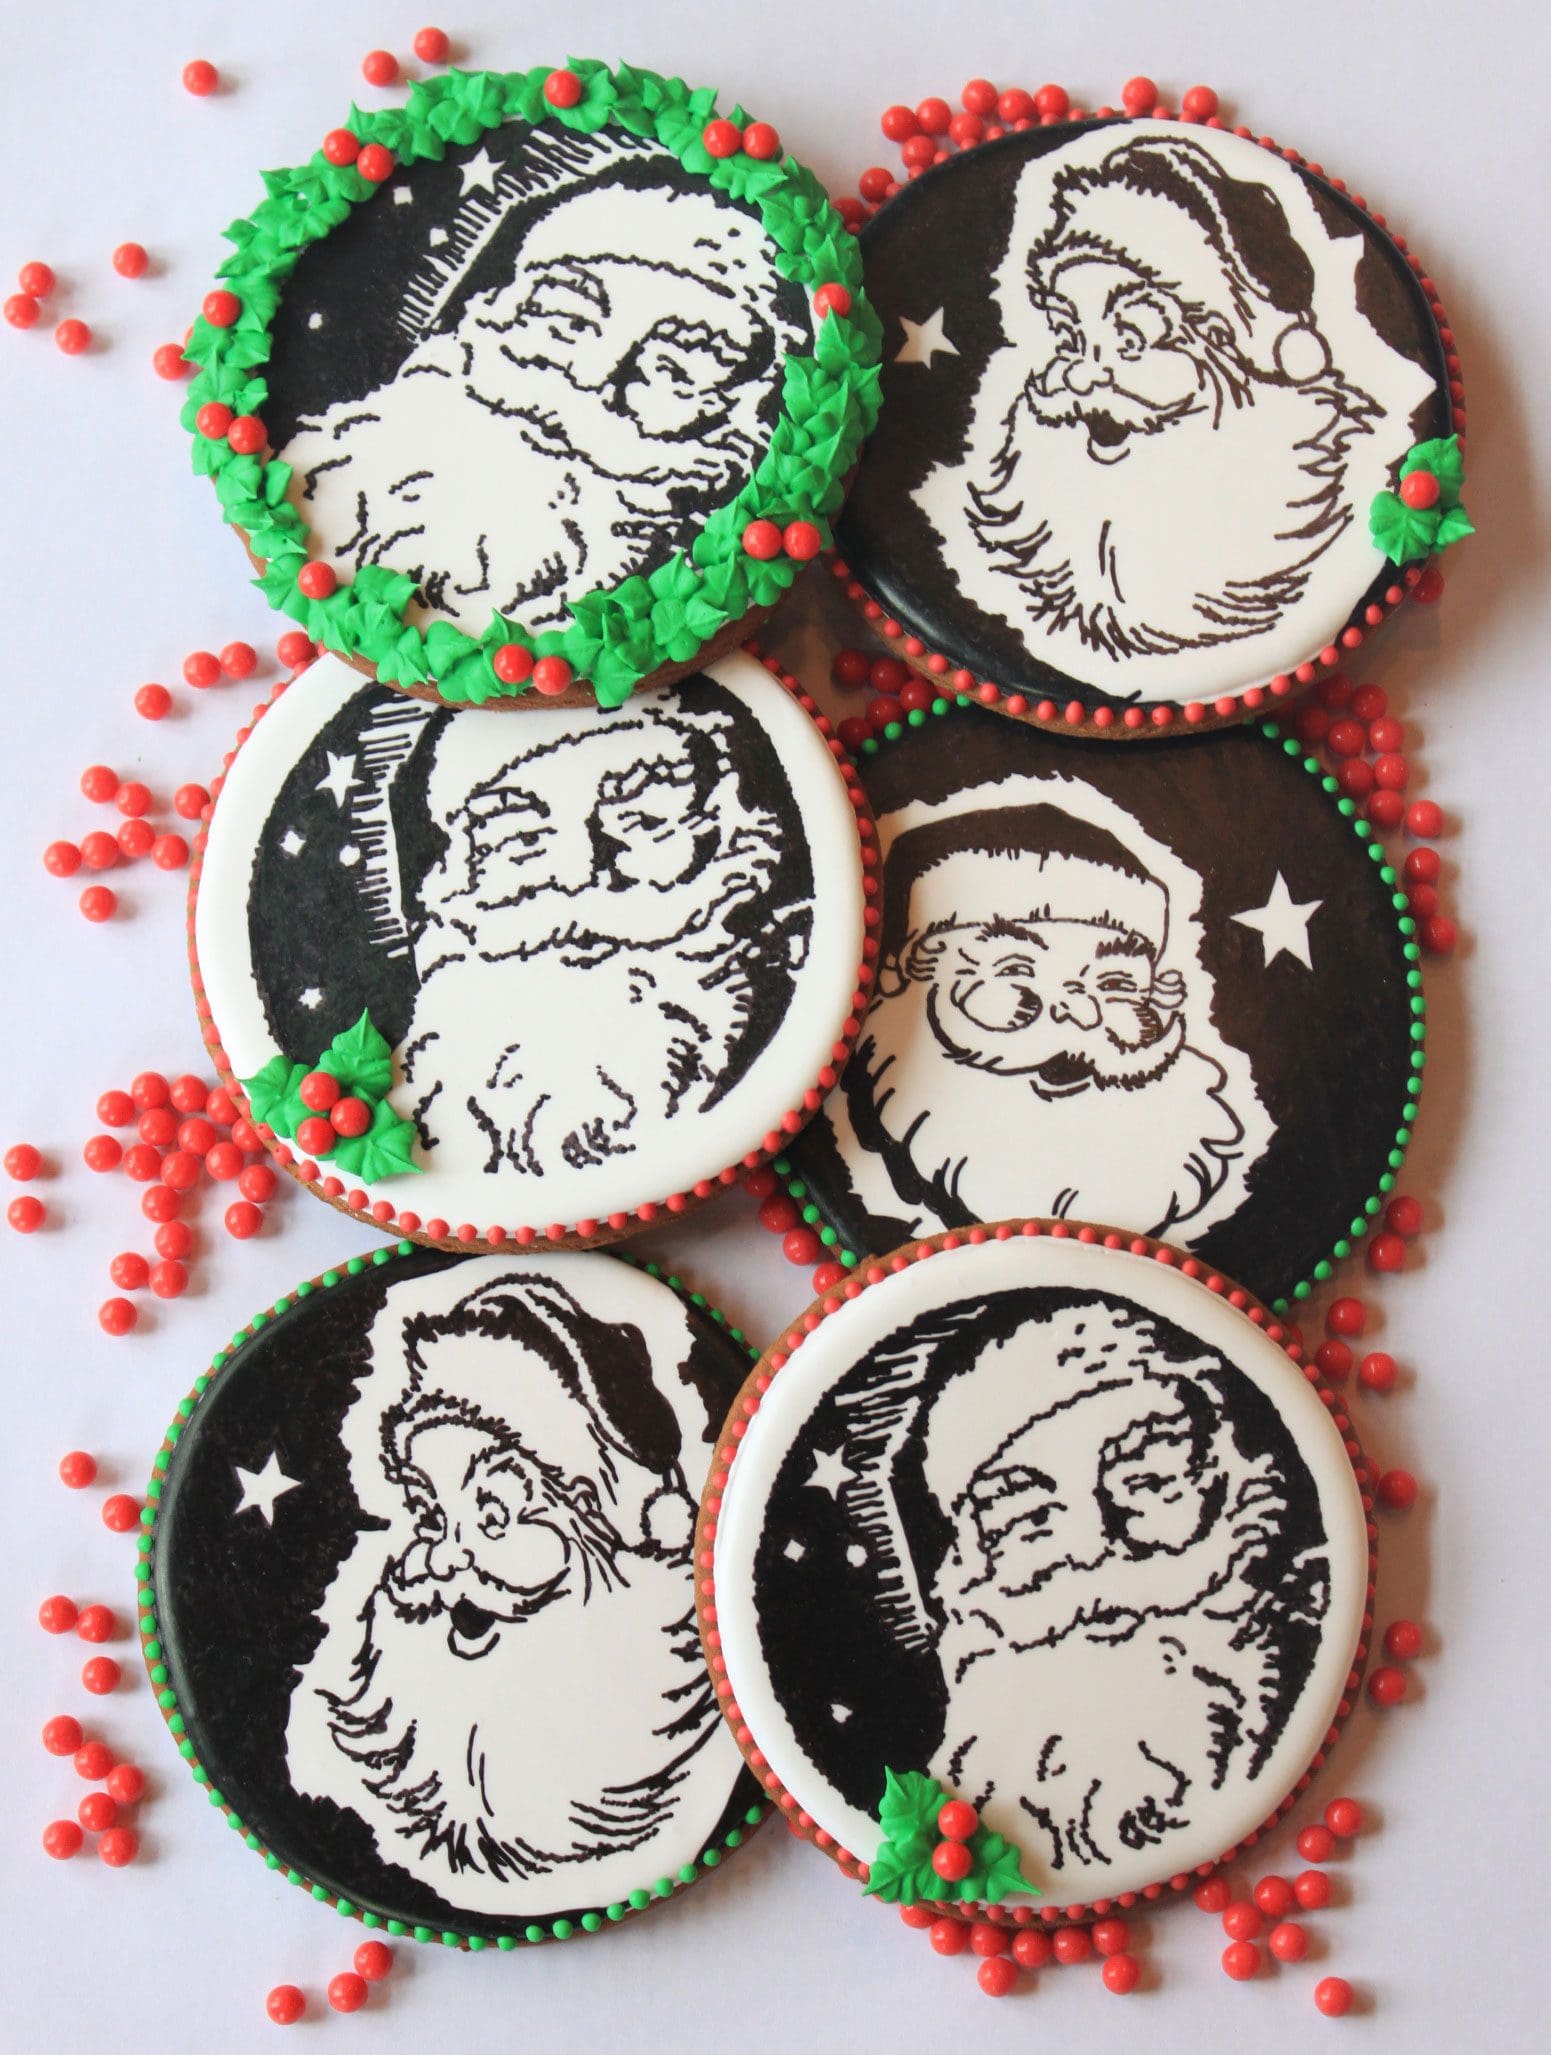


Create a sensation this Christmas with these easy-to-decorate Santa faces inspired by clip art of vintage images. All that’s required are the images (as a guide or to trace), edible marking pens, and some Royal Icing for simple borders and embellishments. Looking for other cookie decorating techniques? Be sure to check out my new cookie decorating video series available on DVD.
What you’ll need for a few Santas:

To make:
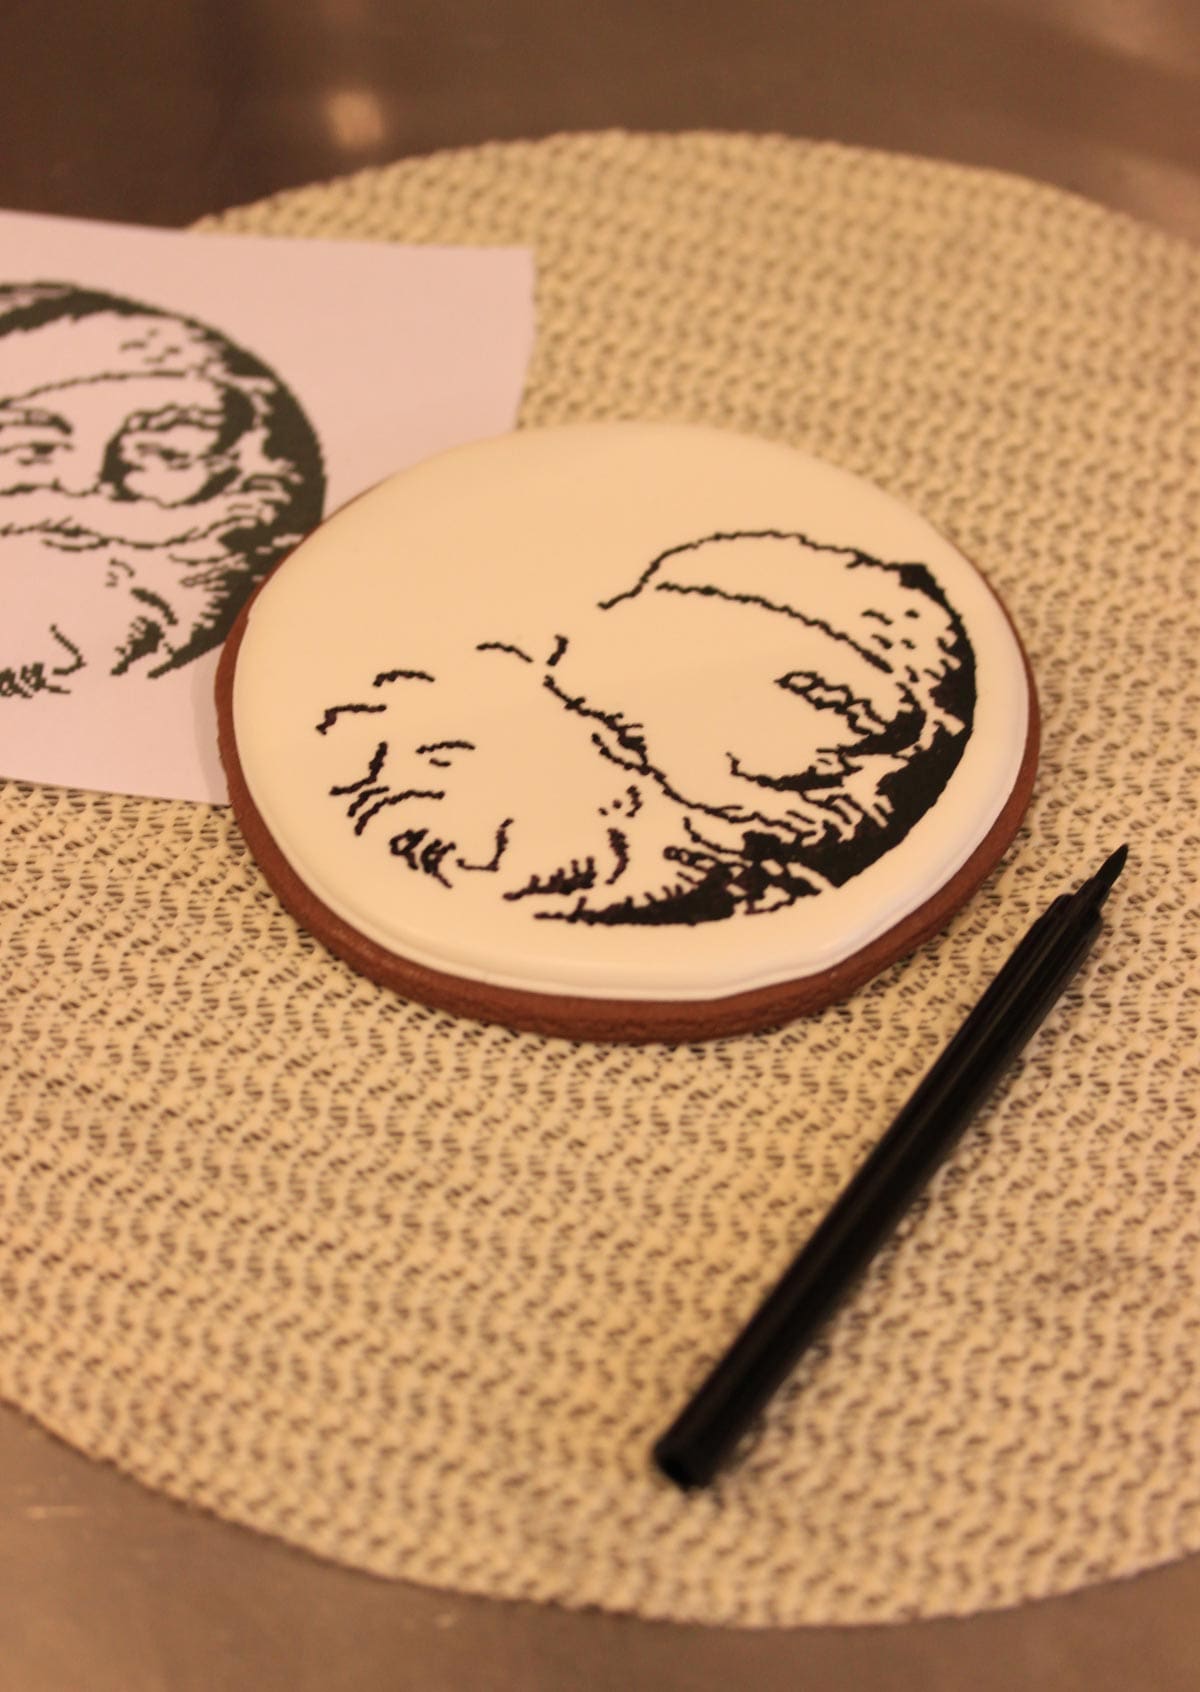
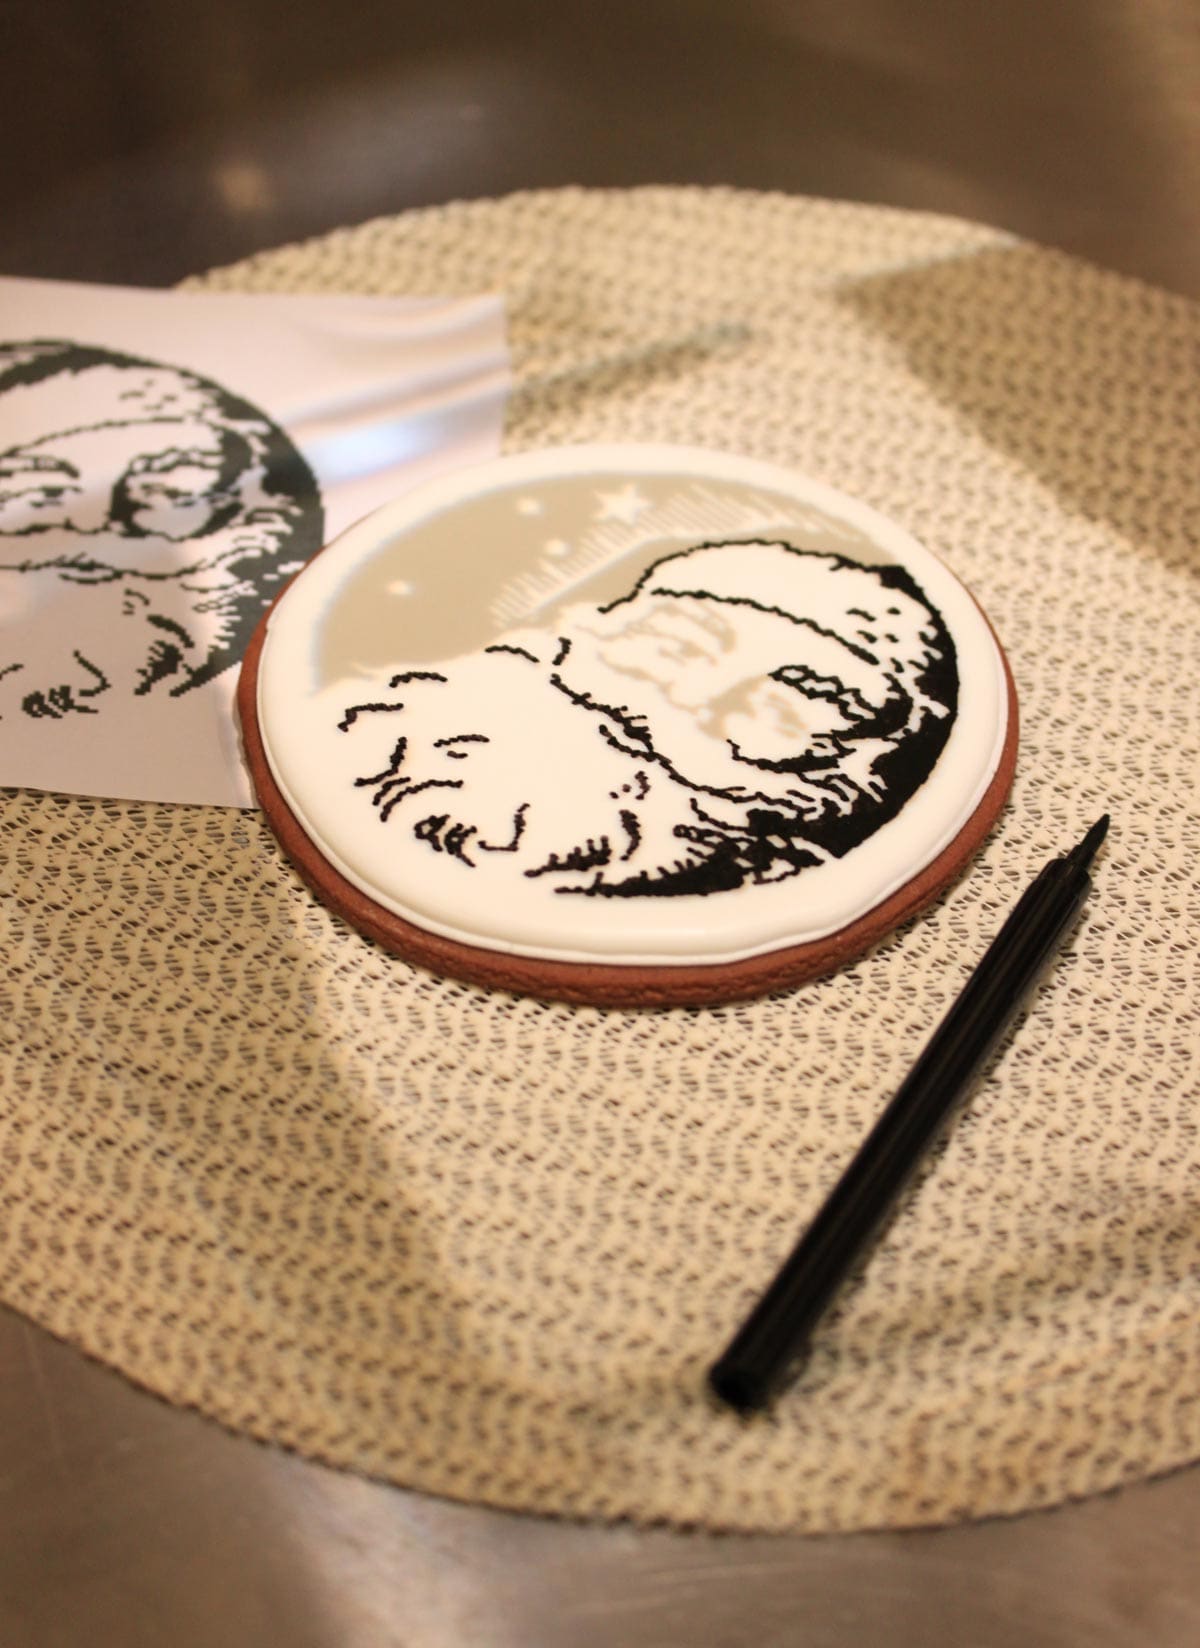
1 | Select an image and start drawing. Choose an image that will translate well in one color (black, in this case) and size it to fit close to the size of the cookies you want to decorate. If you’re a skilled artist, a marker and the image as a visual guide (photo 2) are all you’ll probably need. I started this way, but wanted to work faster and neater, and so sought help after a cookie or two in the form of an image projector.

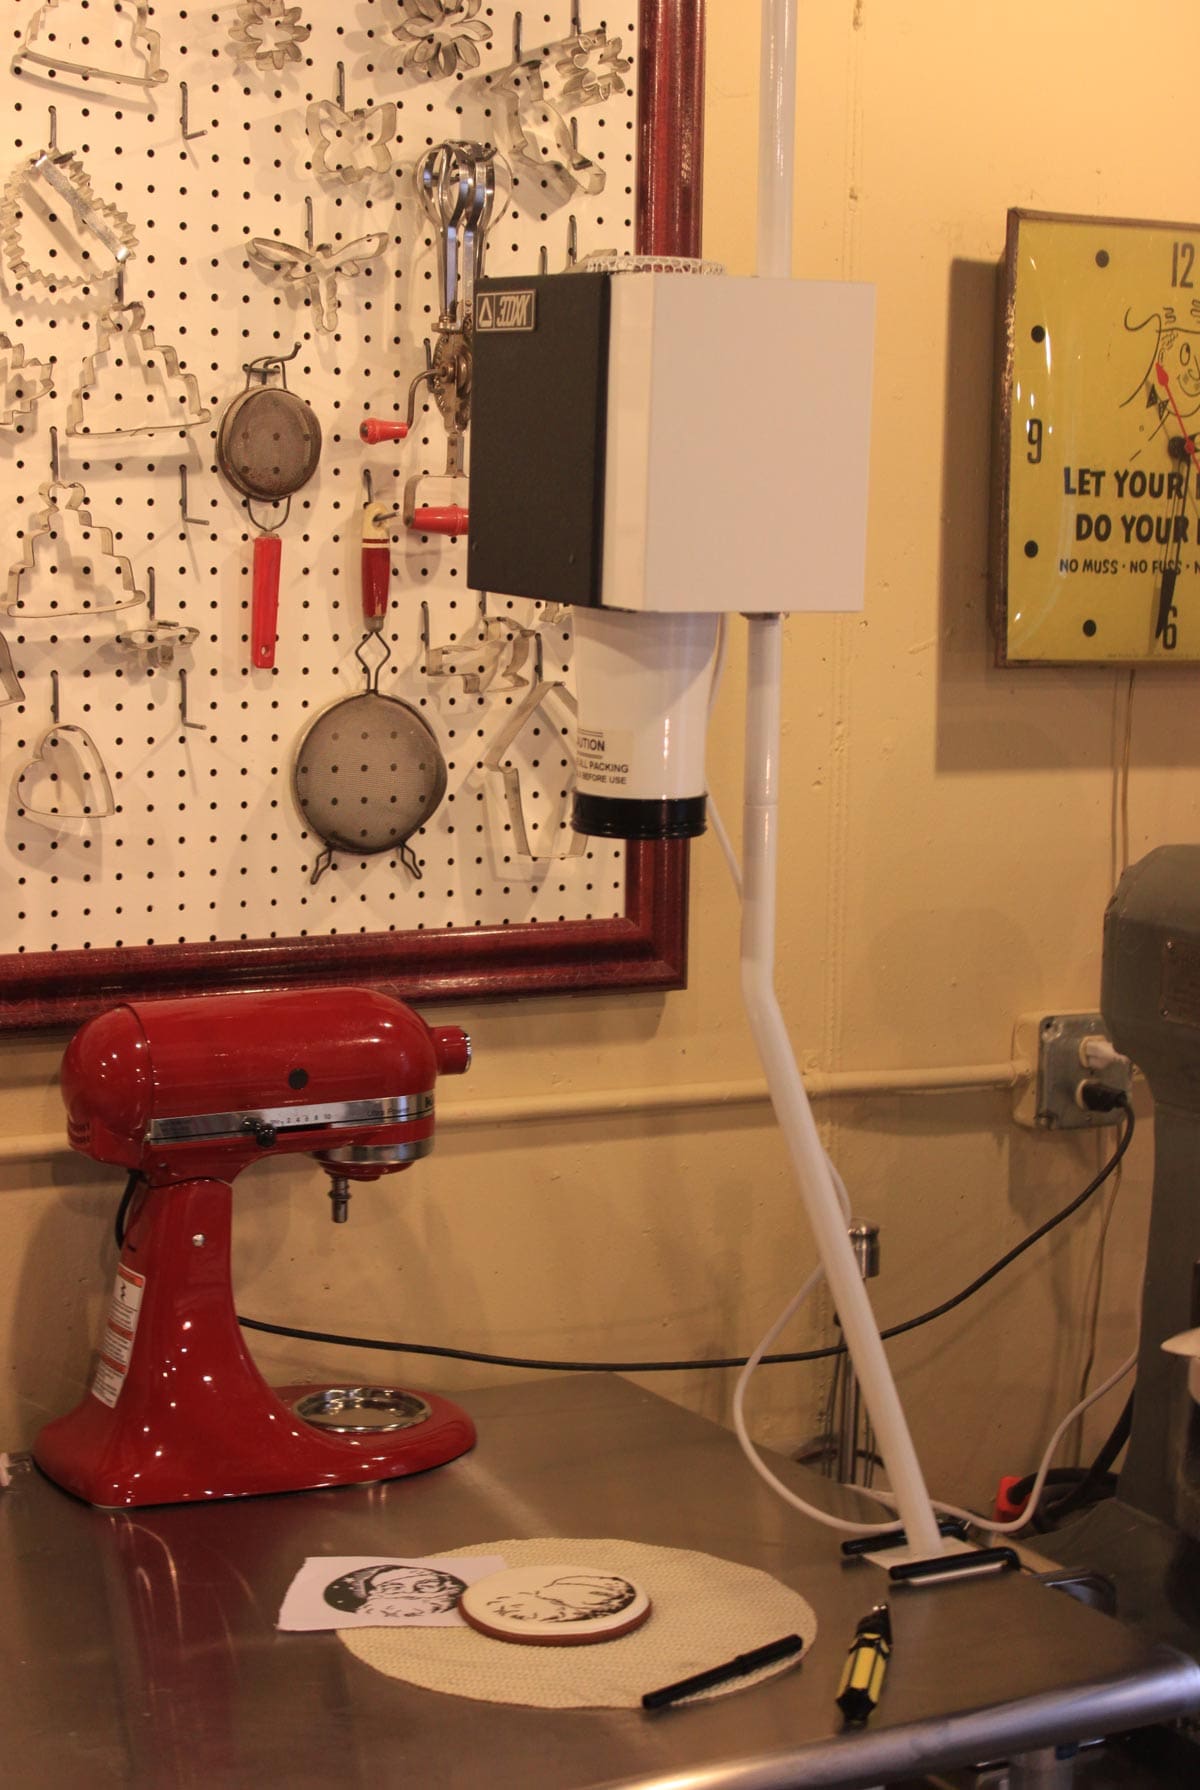
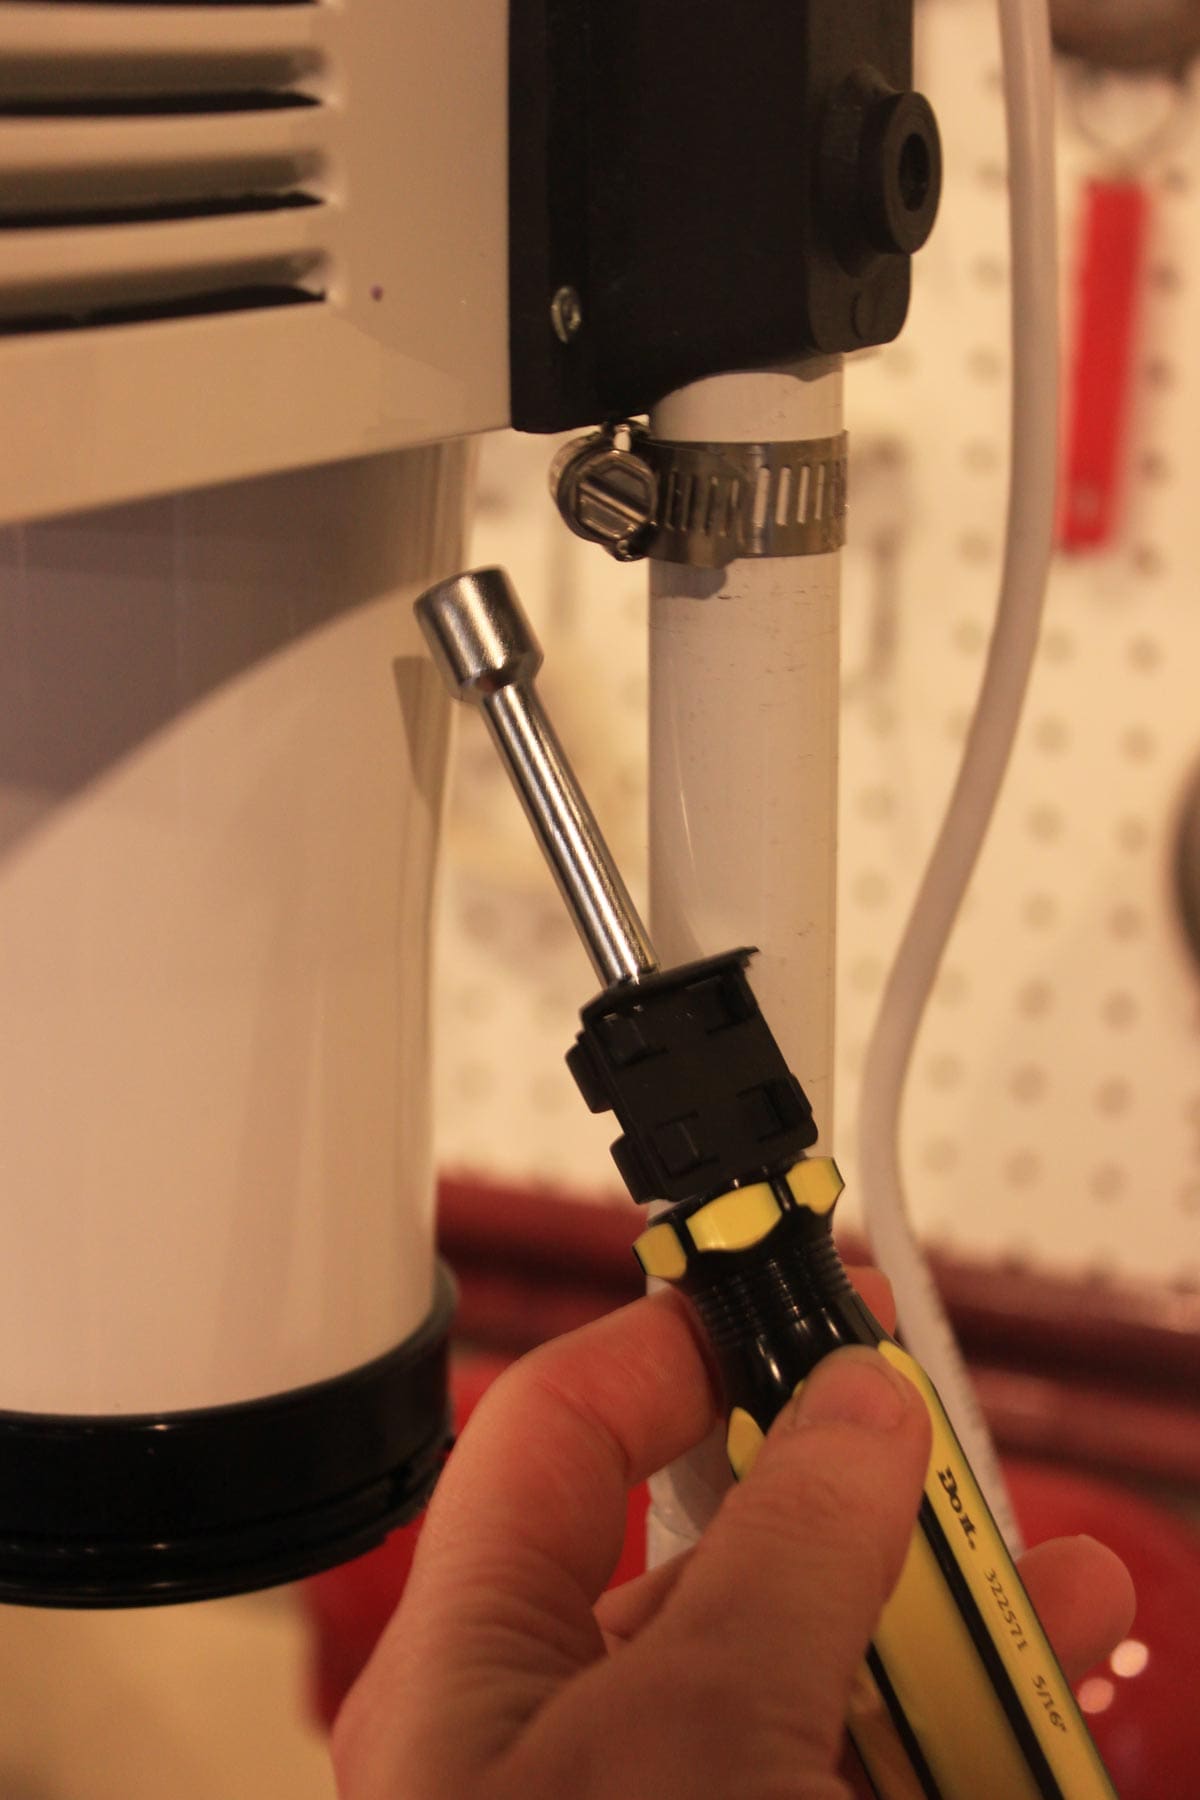
2 | Size the image for projection. I have a Model 300XK Kopykake projector, which clamps onto my tabletop as pictured in photo 3, but projectors come in other forms, so shop around if you want. Most are pretty darn bulky, however, so think twice about storage and how frequently you’ll want to trace images before you make the investment. With this model, I have to size the images that fit in the box at the top of the projector much smaller than the actual size I want them to fit; otherwise, I can never get a sufficiently sharp focus. I work in Photoshop and re-size the image through trial and error until I get a crisp projection on the cookie. Note: For image size adjustments on this machine, you have to loosen the thumbscrew lock knob (photo 4) to raise and lower the projector box; and for fine focus adjustments, you’re theoretically (underscore: theoretically) supposed to be able to move the lens tube up and down. However, my tube invariably sticks so I make all image size and focus adjustments by moving the box up and down. BTW, it’s helpful to have a properly sized wrench, as pictured in photo 4, to do this.

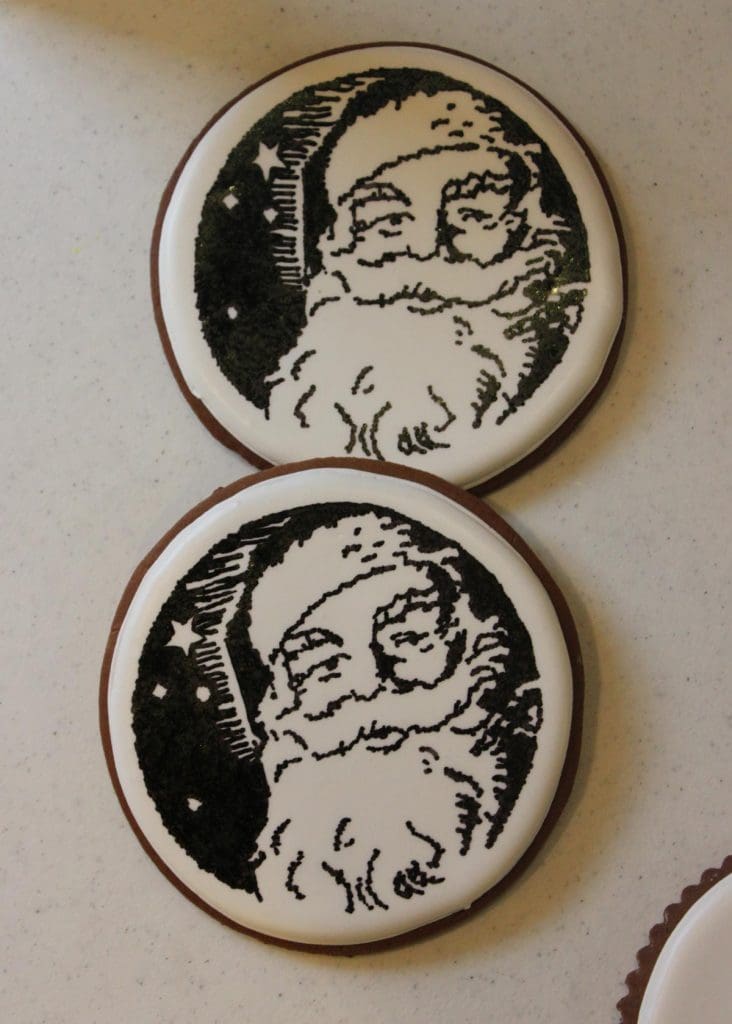
3 | Continue to trace. With the image now focused on your cookie, simply trace with the marker (photo 5). If you have any trouble seeing the projected image, it helps to dim the lights in your work area. Be careful about running your hands over the coloring, as it can take a few to several minutes to dry, depending on the ambient conditions. Before you know it, you’ll have cranked out a bunch of Santas (photo 6). If not, my best suggestion is to turn up the Christmas carols to get you in the groove!

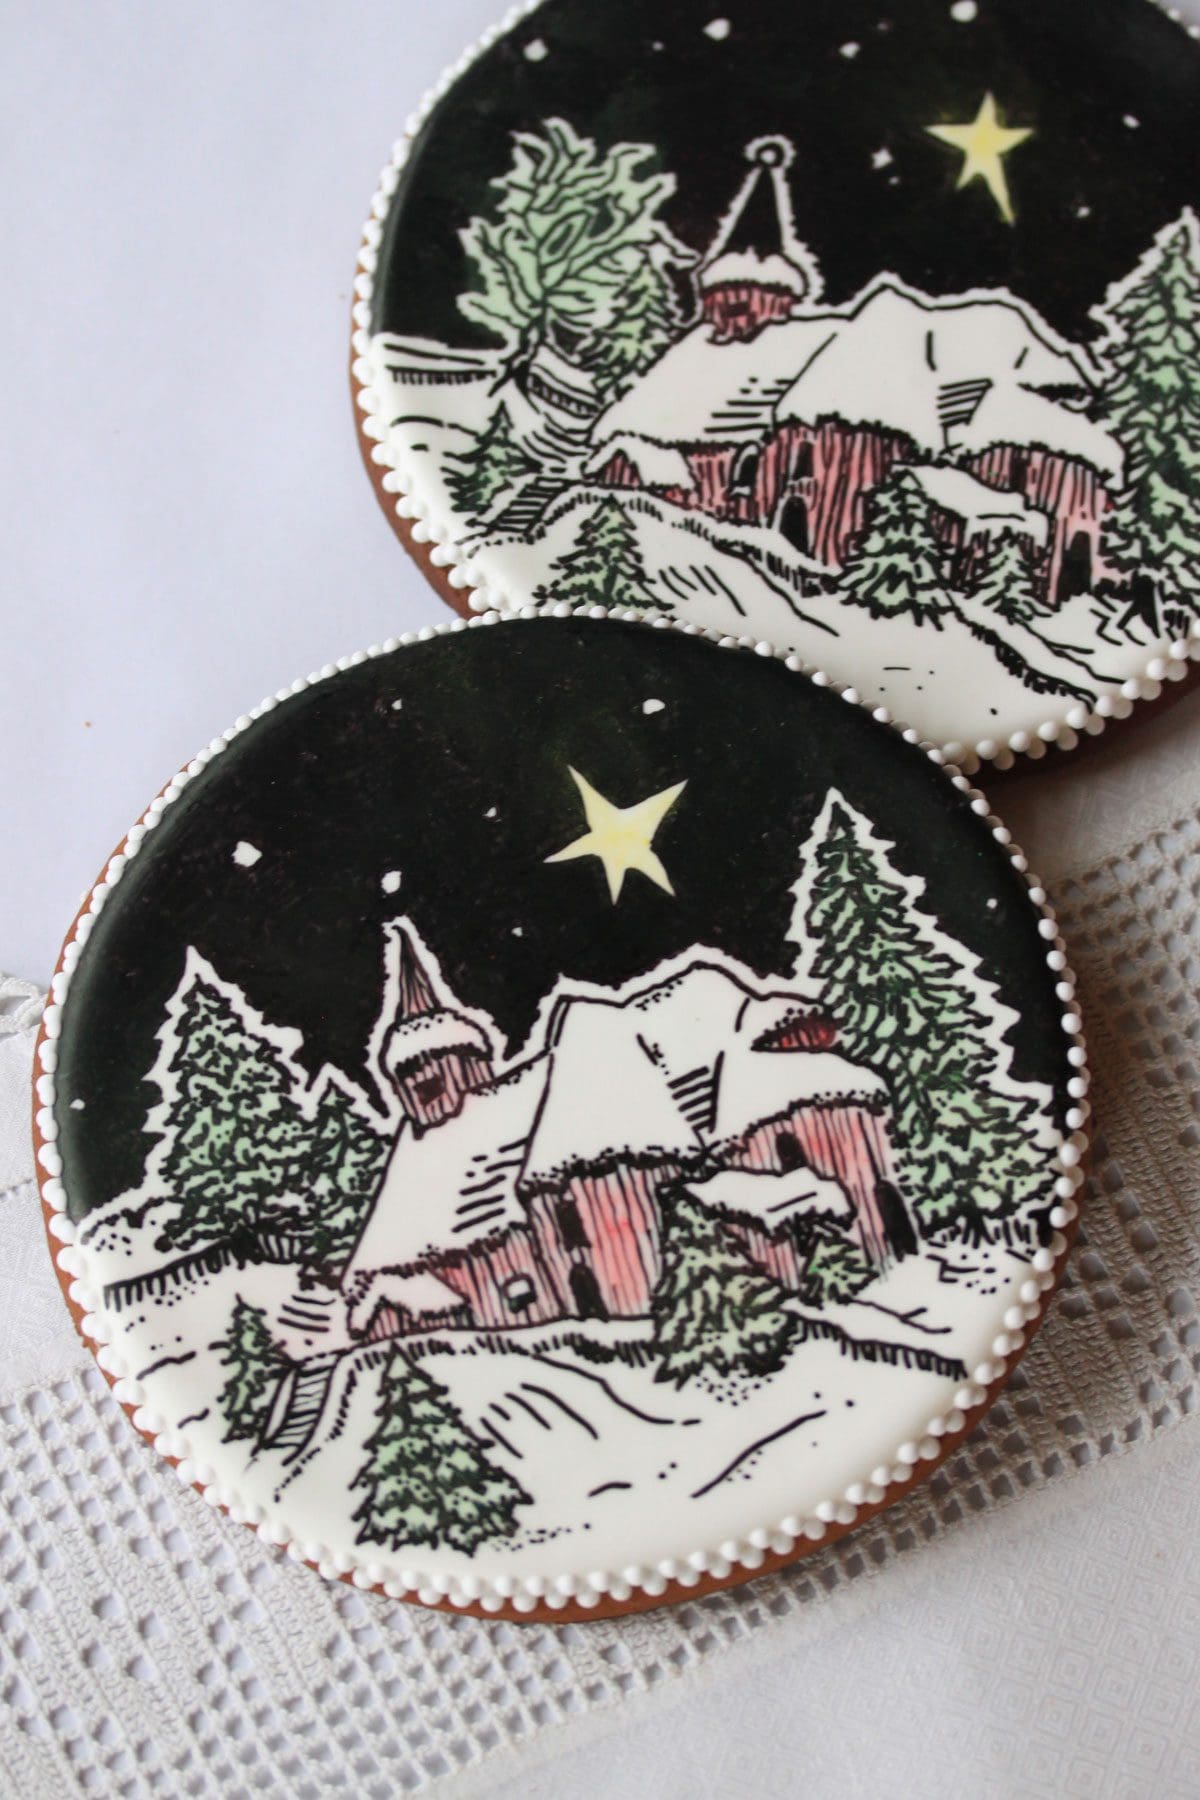
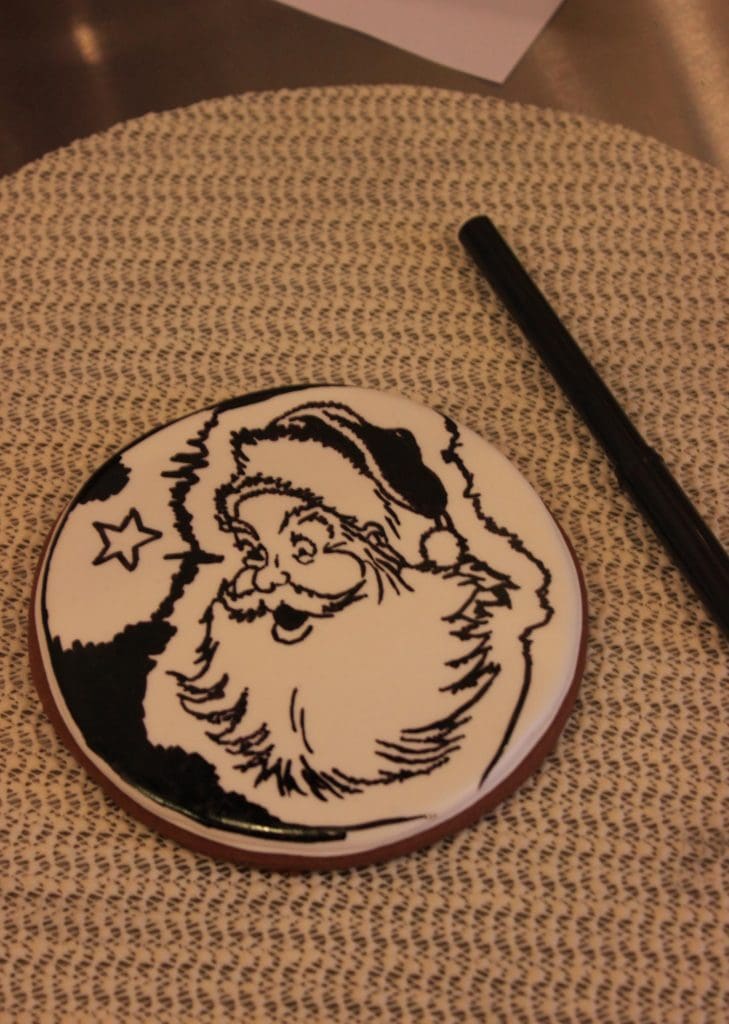
4 | Fill in any areas beyond the image. For an especially striking effect, I like to fill in with black (leaving space for stars and snow) beyond the image, as shown in photo 7. You’ll have to do this freehand, but if you keep the surrounding design simple, you should have no trouble.
5 | Add borders and details. But do so sparingly, so the graphic black and white images really pop. I started by piping green Royal Icing wreaths around the Santa faces using a #352 Ateco tip for the holly, but I felt this design would look too busy if on more than a few cookies. So I resorted to straightforward red and green beaded borders and single holly and berry embellishments.
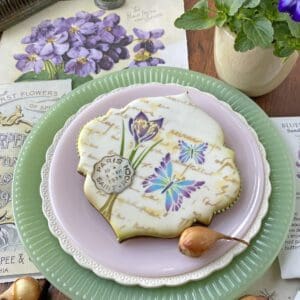
For the holly to hold its shape, be sure to use a very stiff icing; whereas, for the beads, you’ll need a relatively loose icing so as not to end up with peaks on top. (For icing consistency adjustments, read to the end of my earlier post about Royal Icing.) For the holly berries, I used large red dragées, but you could pipe larger icing beads just as well. Color can also be added to the core image, as I did in the woodcut variation of this cookie (last photo); but, again, I prefer a light dusting of dry petal dust, so as not to distract from the picture.

Yes, that’s it! I told you this cookie was fast!