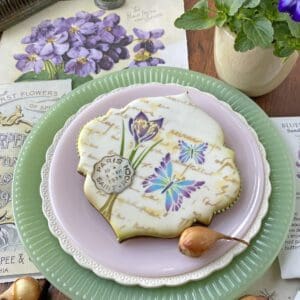

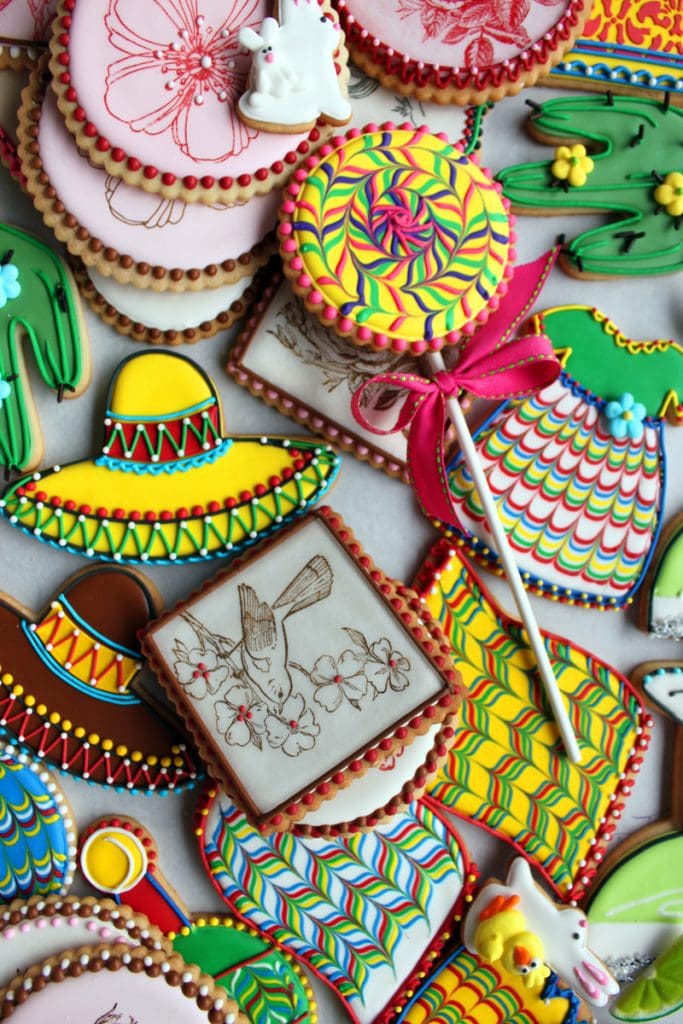
Even though some people may think of beadwork (the making of perfectly round icing dots) as a minor icing detail, I treat it here and in my book Ultimate Cookies as a full-fledged decorating technique. Why the extra attention? Well, partly because I love dots and I use them a lot (the top photo is testament to my fetish); but also because beadwork is one of the trickier techniques for beginners. I can’t tell you how many times my icing dots have been mistaken for store-bought dragées, or that I’ve been asked, “How come your dots are so round and mine always have peaks?” People too often get frustrated because they can’t achieve picture-perfect results. But as the tips below will show you, there’s really no reason to fret over dots. Success lies primarily in icing consistency and how you handle your parchment cone.
What you’ll need for beadwork:
Method:
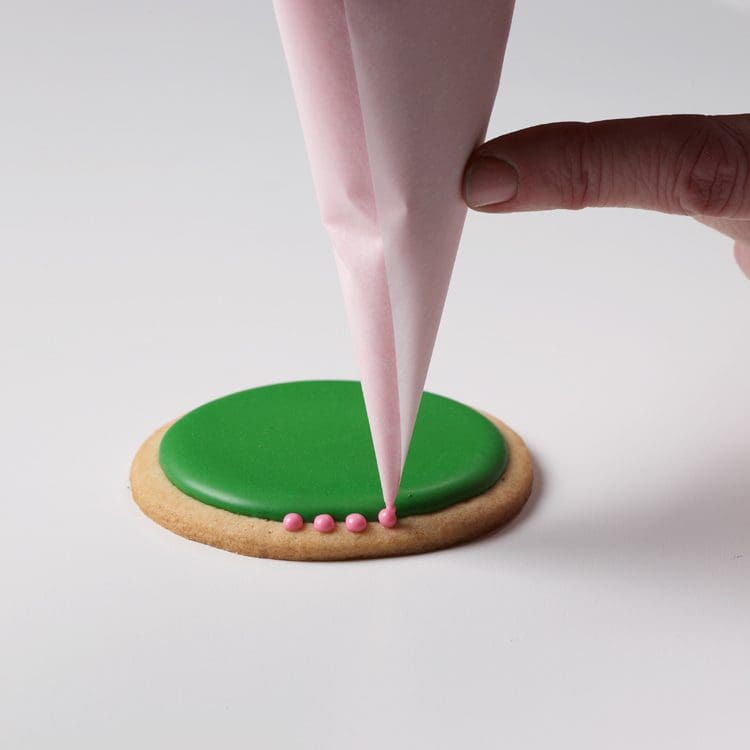
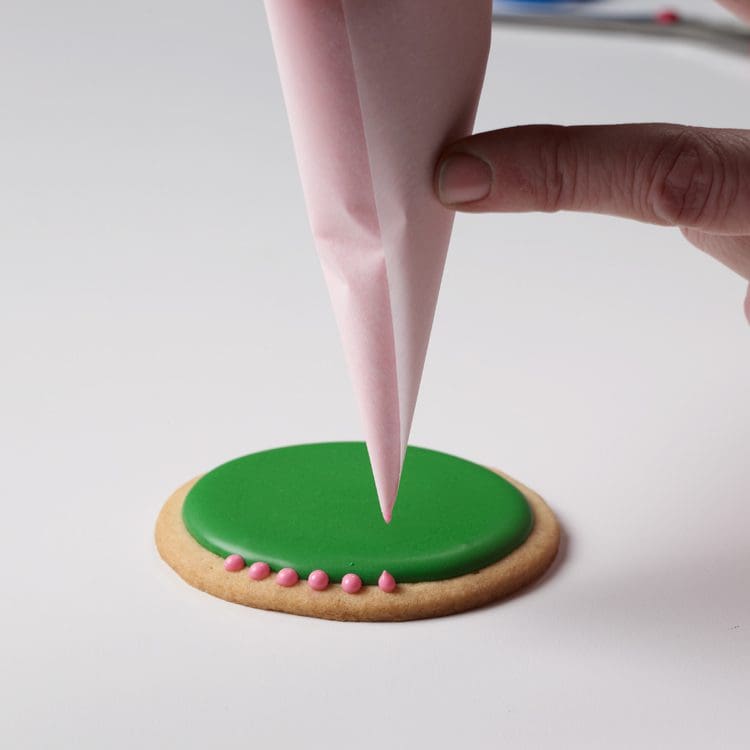
1 | Fill a parchment pastry cone about half to two-thirds full with Royal Icing that has been tinted a color of your choice and then thinned to beadwork consistency (about 2 to 3 teaspoons water per cup of thick Royal Icing). Cut a small (1/16-inch or more) hole straight across the tip of the cone. (It’s best to start with a small hole and later cut a bigger one if your dots end up too small.) Alternatively, place the icing in a pastry bag fitted with a small round tip.
2 | First, test the icing flow and bead size and shape on a surface other than your cookie(s). Hold the bag at a 90-degree angle to your work surface, with the tip of the bag almost touching the surface, and apply just enough pressure from the grip to create a dot. Continue to apply pressure until the dot reaches the size you want. Stop applying pressure and abruptly pull up the bag to break the icing flow. Icing of the proper consistency should settle into a perfectly round dot on its own, even if it starts out with a tiny peak on top, as on the last dot in the third photo. Pipe a few more dots in a row.
3 | Give the dots a little time to settle into their final size/shape. If you’re happy with the dots, then repeat Step 2 on your cookie(s). If not, read my Additional Tips, below.
Additional Tips: If your dots end up with peaks that don’t settle out, it’s simply because your icing is too thick. Thin it with a touch more water and try again. If your dots have no peaks but don’t look quite round, check to make sure you’ve cut the tip on your parchment pastry cone straight across, or use a round metal tip in a pastry bag. (Holes cut at an angle can lead to irregular shapes.) If that doesn’t work, be sure you’re holding the parchment pastry cone or pastry bag at a 90-degree angle to the cookie. Again, piping at some other angle can lead to oval shapes.
If your dots flow into one another and that’s not a look you want (I usually don’t), space them further apart, or thicken the icing with powdered sugar so it spreads less when it hits the work surface.
It’s also useful to know how to control dot size. For very tiny dots (that is, pinprick size), work with a parchment pastry cone, as you’ll always be able to get a smaller dot than with the smallest of standard size pastry tips. Cut a barely perceptible hole in the tip of the cone, apply a small amount of pressure to the top of the bag, if any, and you’re done. To make larger dots, there are essentially three things you can do: (1) apply more pressure, (2) cut a bigger hole in your cone, and/or (3) loosen the icing. Though if you loosen the icing much beyond beadwork consistency, watch out! The icing will spread further once it hits the cookie and dots can run together.
For more tips on beadwork and a wide array of other borders, check out Lesson 16 in my video series, available on DVD here or in the link below.