

Recently I’ve heard some trepidation about modeling chocolate expressed within my circles on the internet. But, truly, there’s nothing to fear about this quick and easy two-ingredient recipe (see gallery photo 1, below). Plus, it’s really tasty, much tastier than rolled fondant, especially if you use a high quality chocolate. Doubtful? Read along with me; in just a few minutes, you’ll be a believer! Or take a look at my companion video on YouTube.
About 10 ounces (284 g) dough
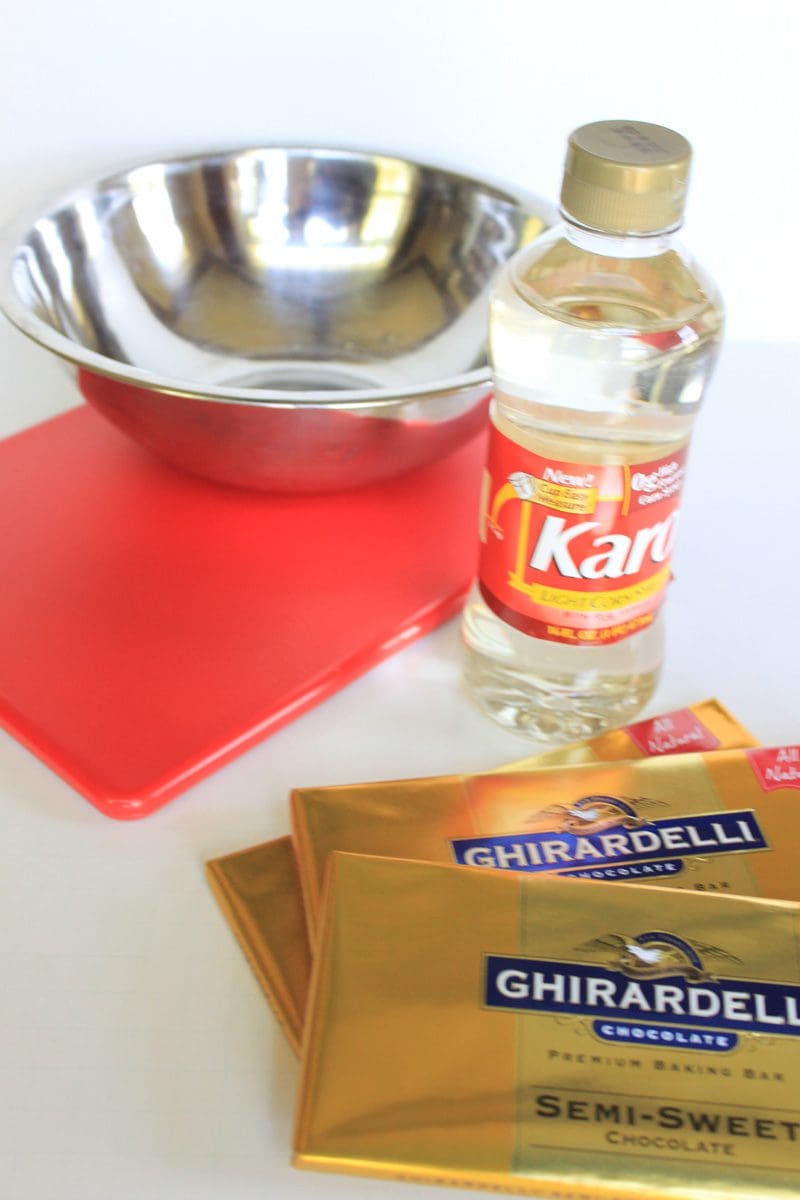
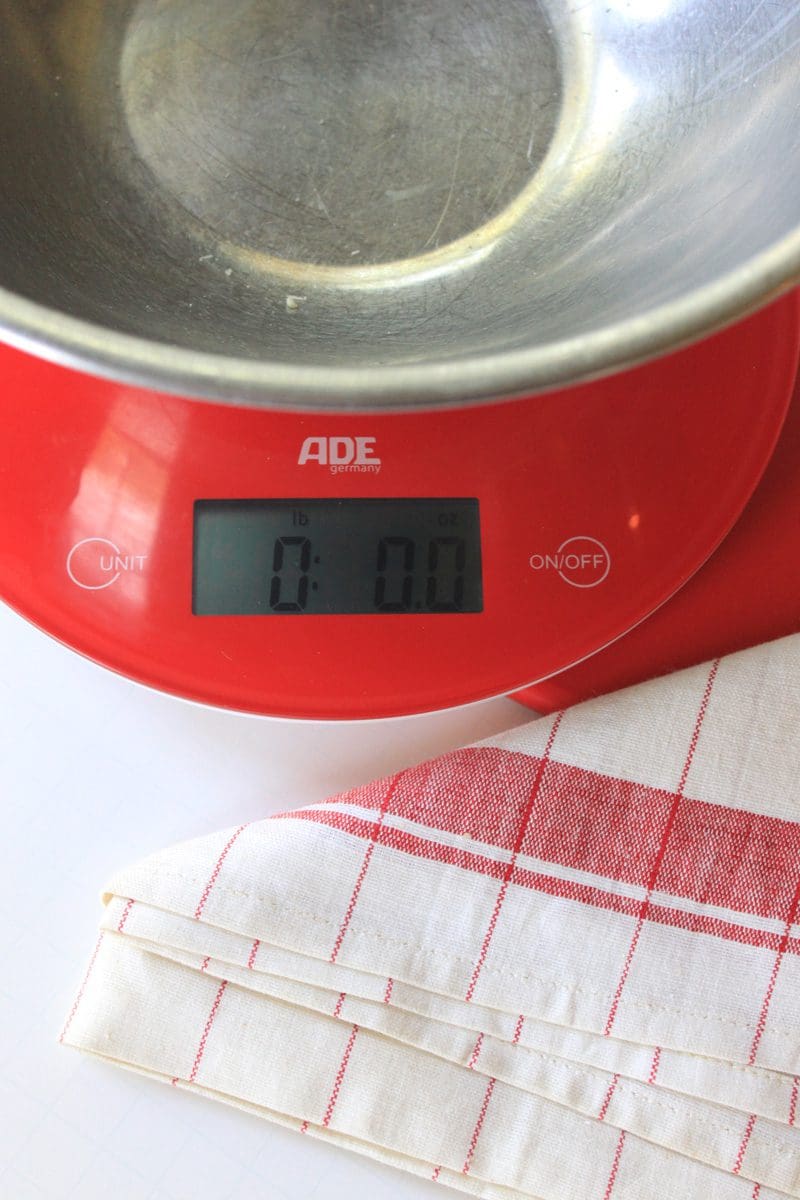
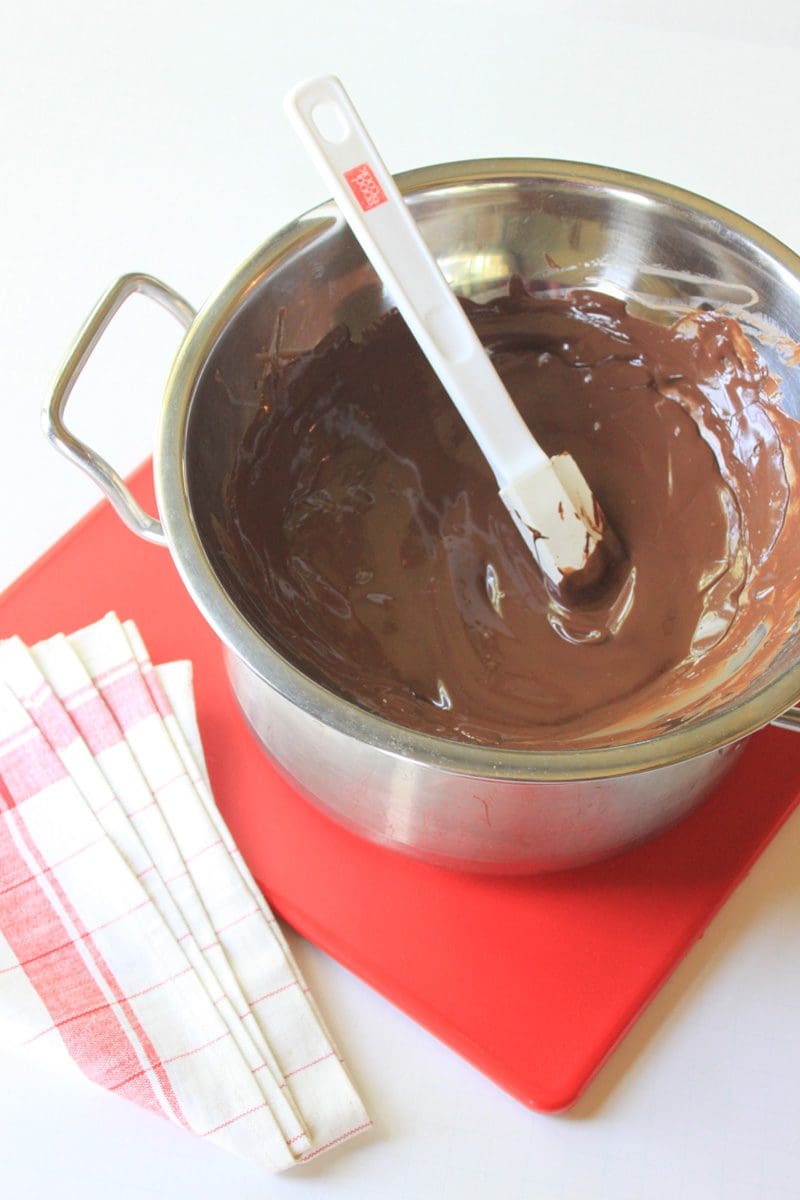
1 | Weighing is always a good thing when baking, and the same is true in this case. Too much or little chocolate in this recipe can alter the end consistency. Weigh your chocolate in the bowl that you’ll be melting it in, taking care to “zero out” the weight of the bowl before you add the chocolate (photo 2). The bowl should fit your double boiler (or sit nicely atop a water-filled saucepan). Break the chocolate into small pieces, and place the bowl over barely simmering water on low heat. Stir occasionally until the chocolate is completely melted (photo 3). (You can also microwave the chocolate, but watch it carefully.) Do not overheat the chocolate, or it can scorch and seize.
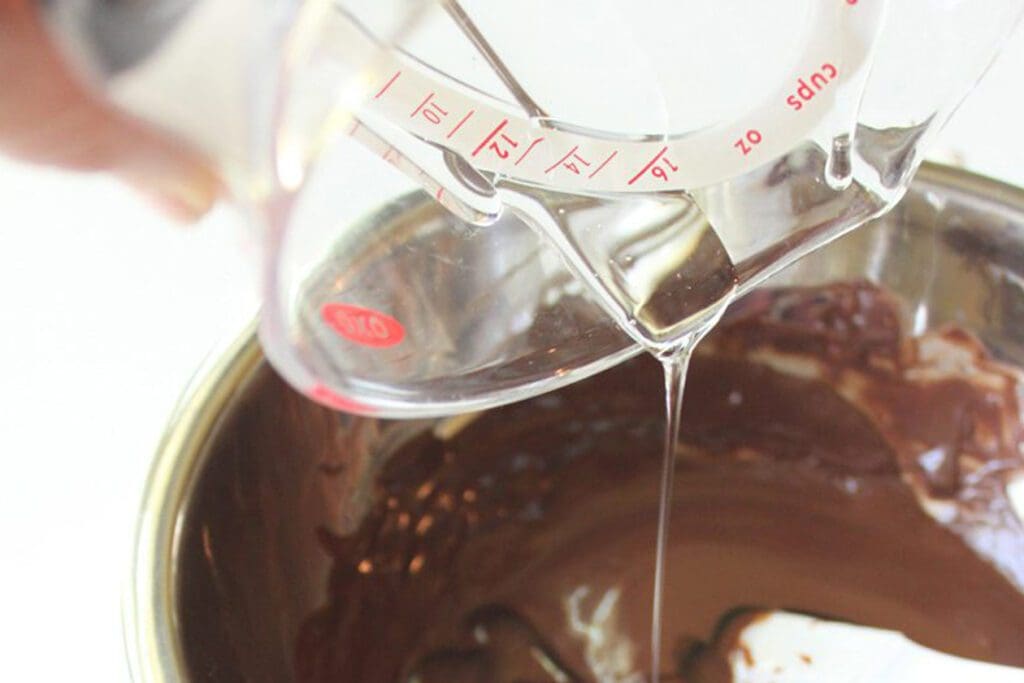
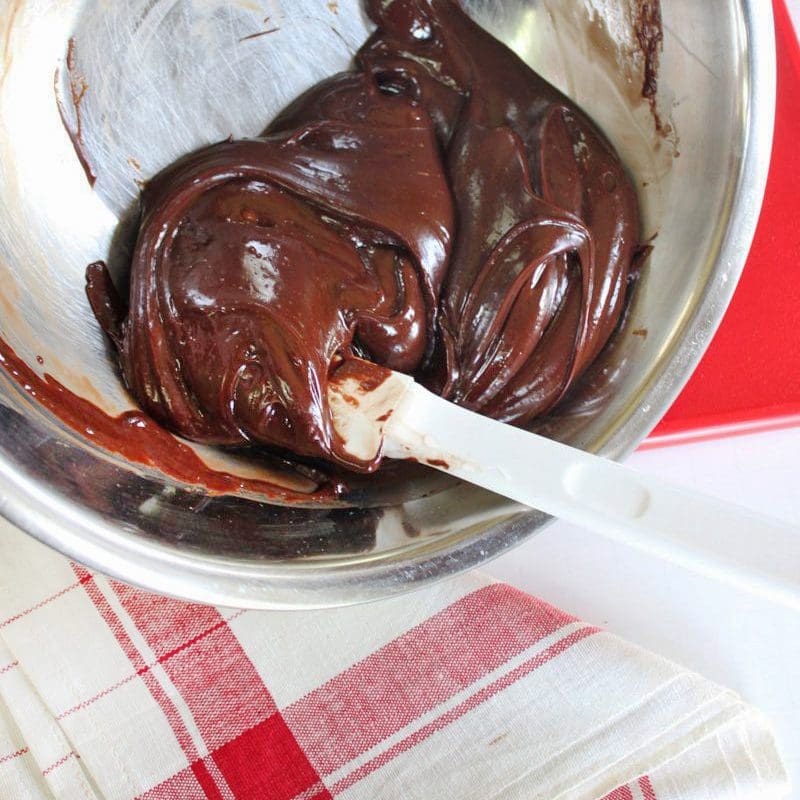
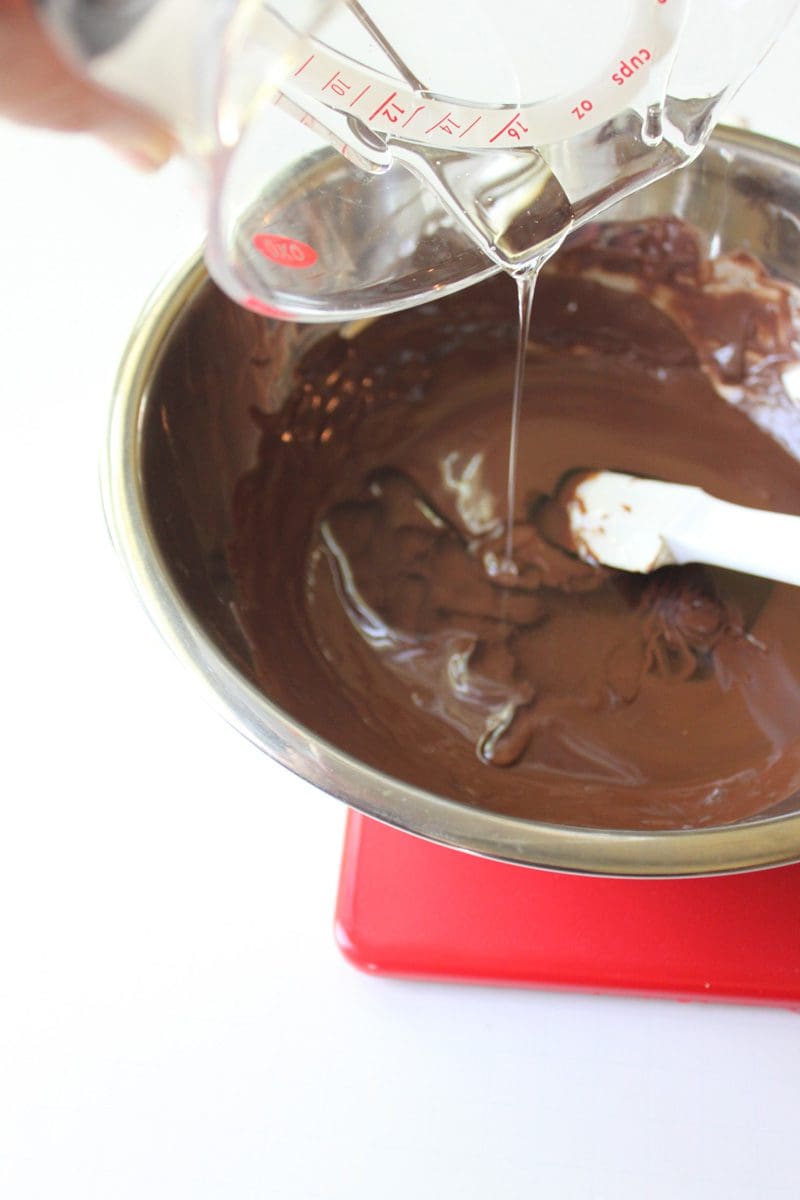
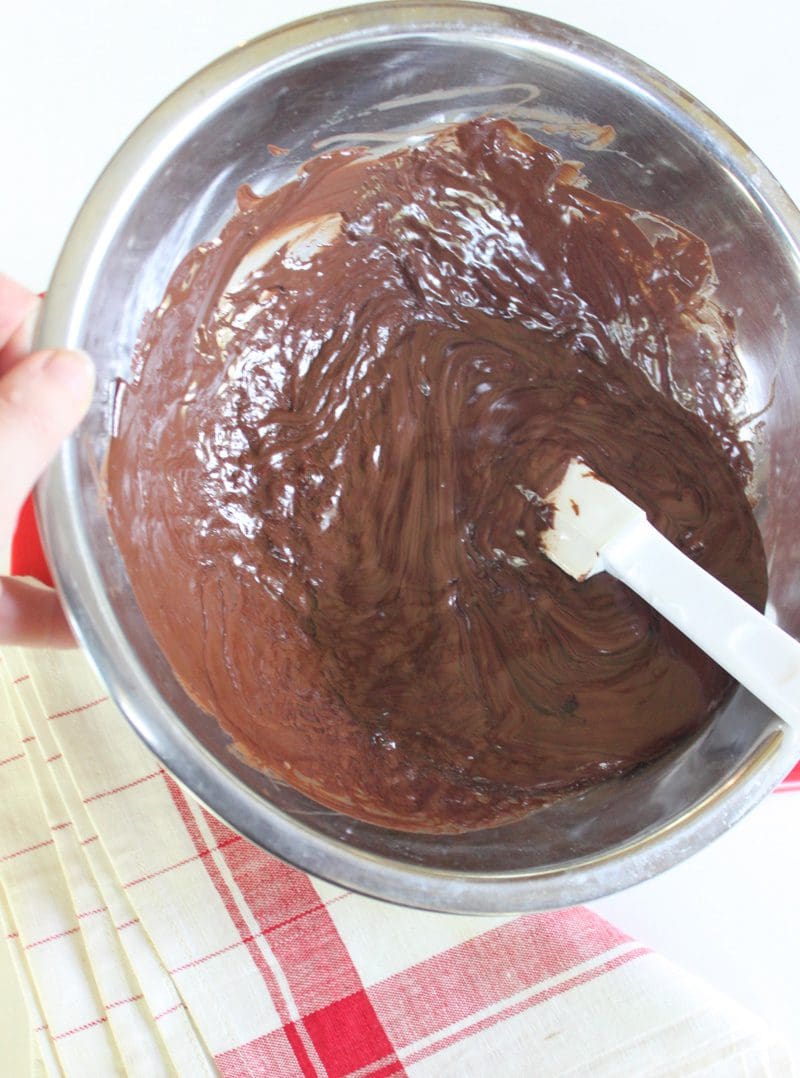
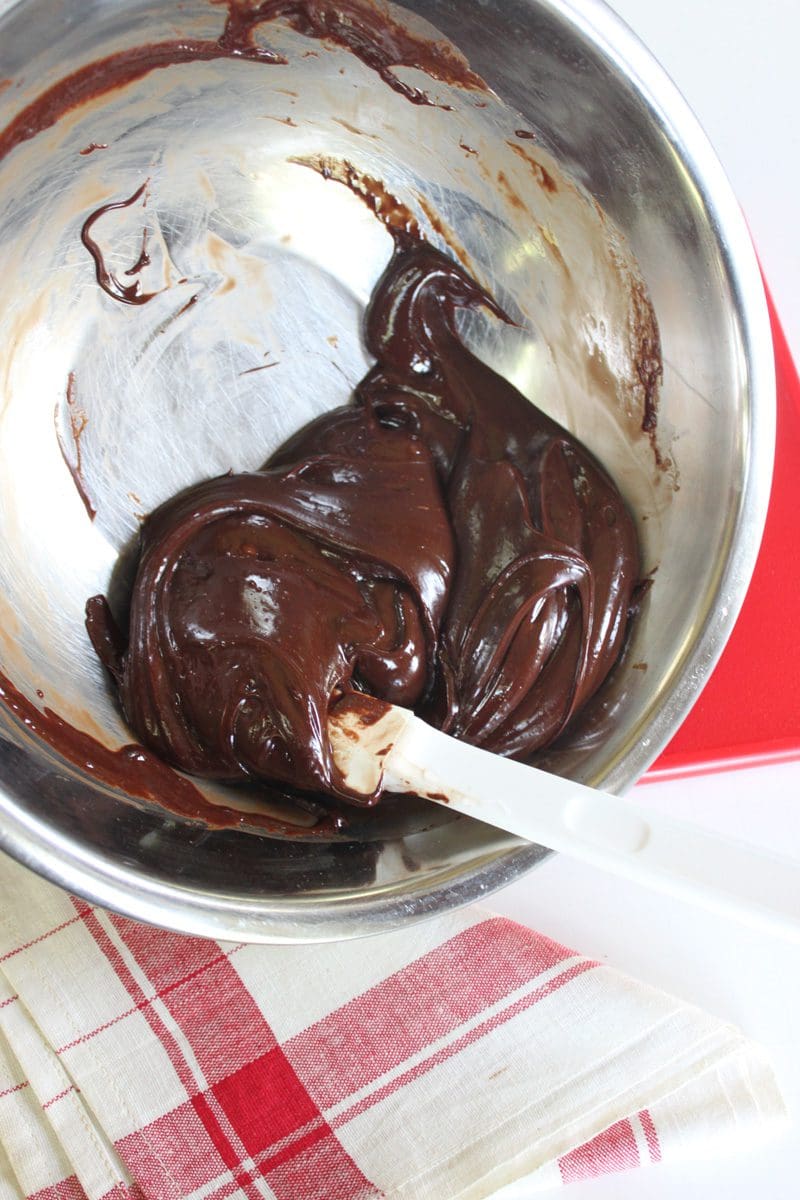
2 | Remove the chocolate from the heat, and add the corn syrup (photo 4). Stir just until the mixture turns into a thick, smooth paste that cleans the sides of the bowl, generally less than a minute. The mixture will at first look a bit grainy or streaky (photo 5), but after enough stirring, I promise you it will come together into a smooth (somewhat sloppy) mass (photo 6).
If working with white chocolate, it’s generally best not to over-stir the mixture or it can break and exude a lot of cocoa butter, which then requires some additional “recovery” steps. But, no worries with semisweet chocolate; it is much less prone to breaking. I’ve stirred this mixture for 1 to 2 minutes, maybe more, and I’ve had no breaking whatsoever. However, no more than 20 strokes is typically required to bring the dough together, so there’s no need to overdo the stirring.
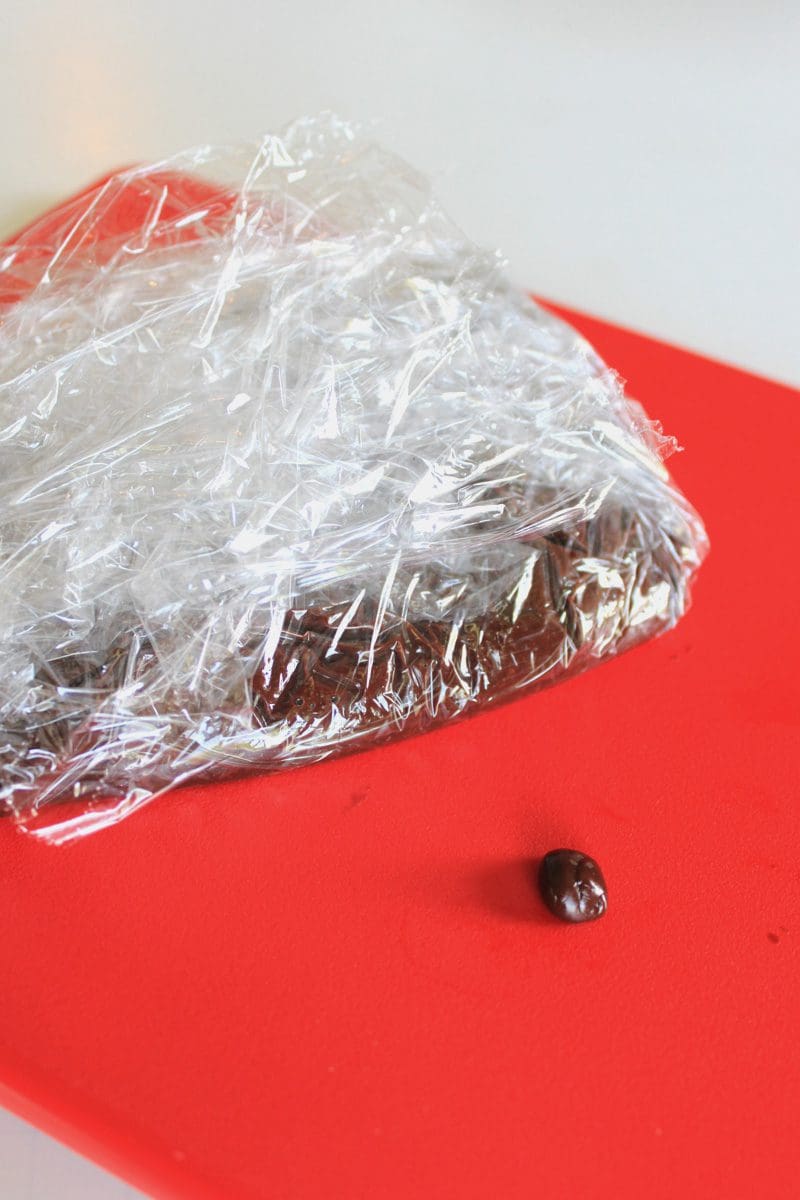
3 | Cover the bowl with plastic wrap and allow the dough to cool a bit until it is less sloppy and more easily handled. I usually allow a cooling-off period of about 20 to 30 minutes, depending on the room temperature. (Wrapping the dough immediately is fine too; it’s just harder to handle when it’s at all warm.) Turn the dough onto a very smooth, flat piece of plastic wrap, taking care to keep pleats of plastic from getting in the dough. The plastic will be hard to remove later if the dough solidifies around it.
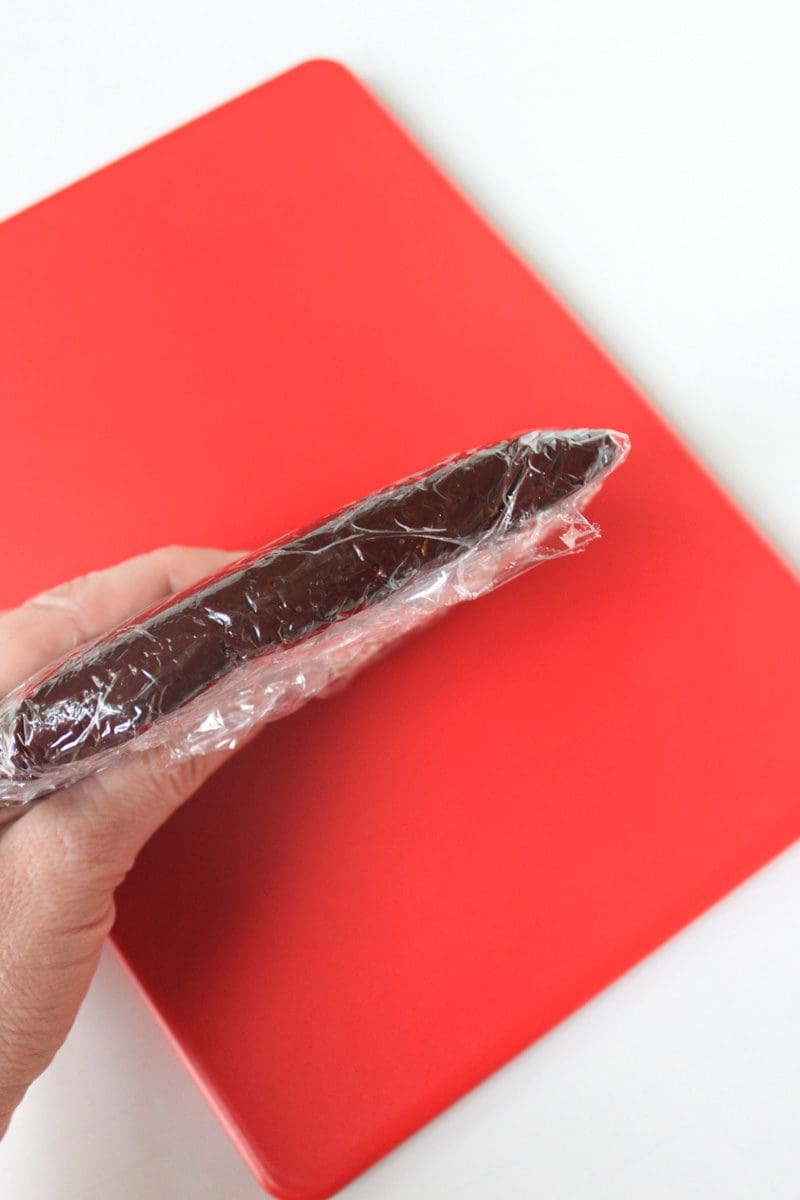
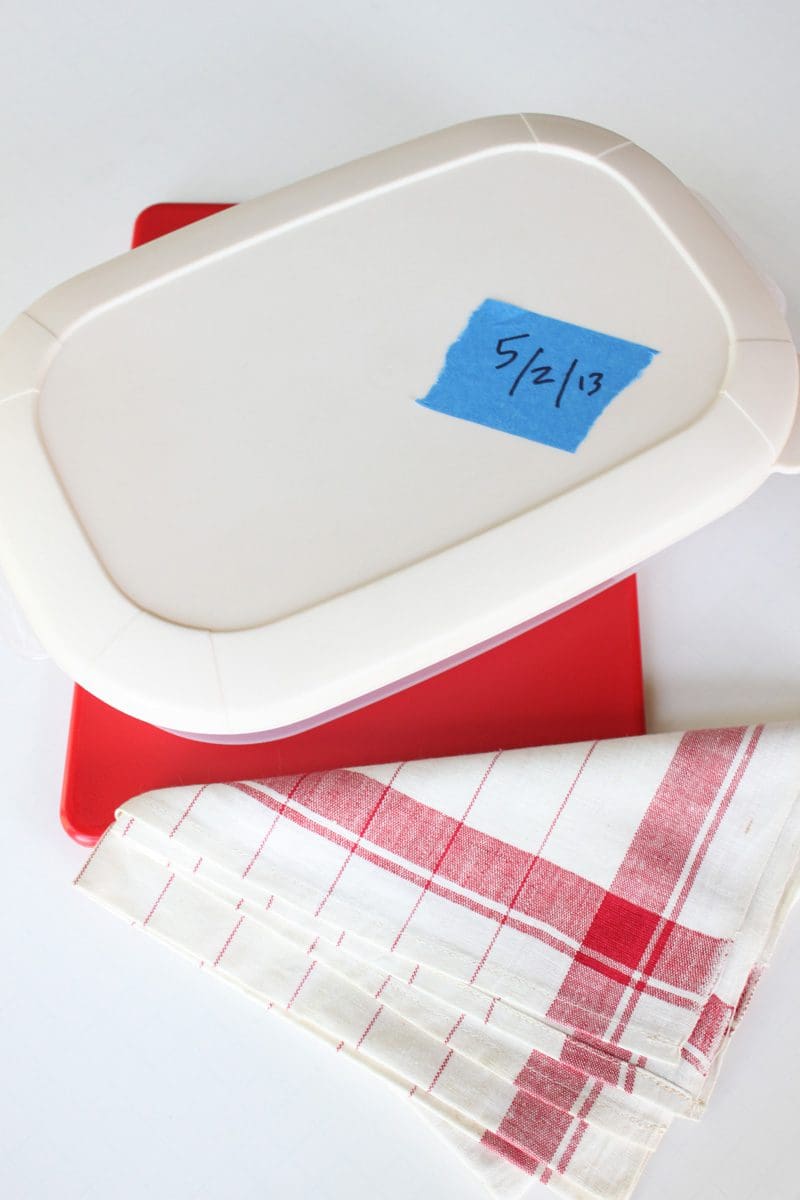
At this stage, the dough will still be very floppy – kind of a soft, sludgy consistency. You should be able to shape it into a ball without it sticking to your fingers, but the ball will be very squishy and pliable (photo 7). Wrap the dough disk a few times in plastic wrap. Even wrapped, the mass will still be quite floppy (photo 8), but, again, no worries. There’s nothing like a little setting time to firm it right up (photo 9). Store the dough in an airtight container, ideally dated so you remember when you made it (photo 10).
4 | Allow the dough to sit overnight (about 8 to 10 hours) at room temperature, all packaged up. Again, depending on the storage temperature and type of chocolate used, the dough can take as little as overnight to set into a solid working consistency, or as long as a few days to a week.
Regardless of your dough’s consistency the next day, it is wise to fully knead it before it hardens any further. This way, if there is any grit (from small pockets of recrystallized cocoa butter), you can work it out before the dough completely sets. In addition to kneading the dough, I also roll it through my hand-cranked pasta machine set with the roller blades as close together as they go; this step will almost always work out any persistent cocoa butter crystals. Re-wrap the dough, and store as described in “Prep Talk” until you’re ready to use it.
The dough will last a very long time (at least a few months) if stored as described. But as it sits, it continues to harden. What this means is that, as time wears on, you may need to spend more time re-kneading the dough to a pliable working consistency before you can start shaping it into anything else.
And that’s all she wrote! Was I right, or what? Pretty darn simple!
Again, for step-by-step photos, see the gallery below. If you’d like a tinted modeling chocolate instead, you will need to start with white chocolate. Check out my white chocolate variation, also under “Recipes” in this blog, or view my YouTube video that covers both semisweet and white chocolate variations:


2 Responses
Question, if I add black coco powder into the semi sweet chocolate how much additional syrup should I add? Or should I be adding more coco butter first then doing 2:1 choc to syrup. My chocolate looked more like ganache but then I let it cool on parchment and it rolled into a ball but seems to be hardening up too fast. Is there a way for me to incorporate more syrup into it the next day?
I would just recommend following my recipe to a tee. I have made it hundreds of times with no trouble. The recipe calls for 7 ounces of REAL semisweet chocolate (NOT candy melts, coating chocolate, or other forms of “chocolate” without cocoa butter) to 1/3 cup corn syrup. It also says it will be quite sloppy to start (kind of like ganache as you described) but will firm up to working consistency in about a week’s time. You need to work it through a pasta machine the day after it’s made to homogenize it, but, again, all of this is explained in the video and recipe. If you are using fake chocolate (candy melts or coating chocolate), the setting time will be faster and it will set harder. If you use bittersweet chocolate rather than semisweet, it will also set faster and harder. As I have not tested this recipe with fake chocolate or bittersweet chocolate, I cannot give you any adjusted proportions. But, again, I believe that if you just make sure you’re using the right type of chocolate and measure carefully, all will be fine. The dough will ultimately get quite firm, and you will need to work it (warm it) in your hands each time you use it to get it to a nice working consistency. I hope this helps a bit. Without knowing exactly what chocolate you used (type, % cacao) and without testing with the exact chocolate type you plan to use, I cannot give you more than I already have.