

A cookie decorating technique after my own heart, stenciling doesn’t require that you be a born-again Van Gogh. With a pretty stencil, the right consistency of Royal Icing, and some practice, anyone can make gorgeous stenciled works of art. Read on for details and/or check out Lesson 10 in my cookie decorating video series.
What you’ll need:
Method:
1 | Either naked or topcoated cookies may be stenciled, but it you choose the latter, make sure the Royal Icing top coats have dried to the point of being quite hard (ideally overnight).
2 | Mix the remaining Royal Icing not used for topcoating to stenciling consistency, and tint it with liqua-gel food coloring to contrast the color of your topcoated or bare cookies.
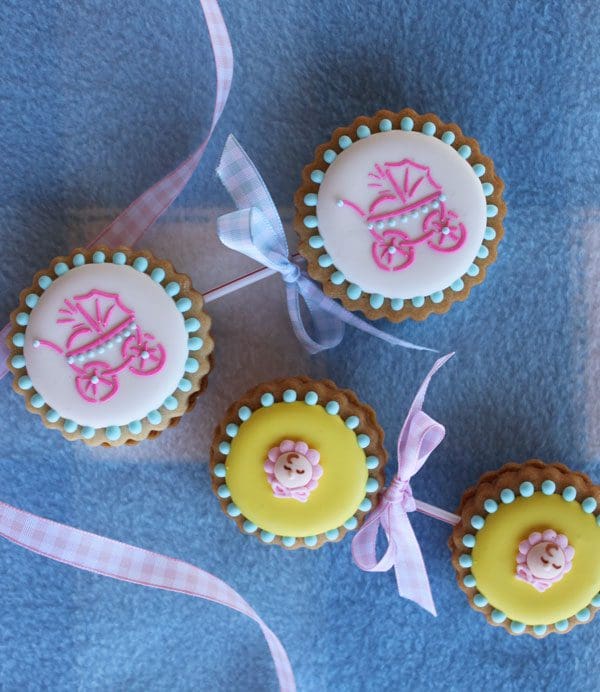
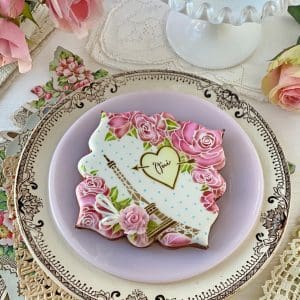
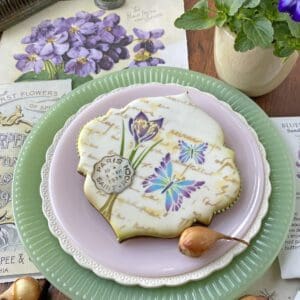
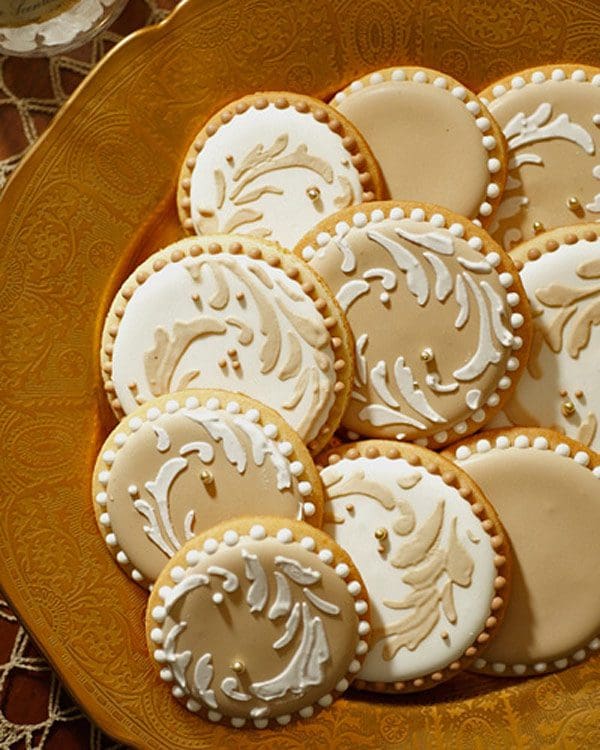
3 | Choose a stencil that lies very flat across the top coat and whose pattern fits the top coat with some room to spare on all sides. If your stencil is too wide for the cookie, it can lift up at the edge of the top coat, allowing the stenciling icing to sneak underneath into areas it shouldn’t be. Stenciling-newbies are best off using stencils with relatively wide openings spaced relatively far apart (no closer than 1/16 inch), such as the one used on the cookies, center right. Closely spaced openings make it much harder to achieve a crisp pattern, as the icing is more likely to run together between openings. If you choose a tightly spaced stencil despite my words of caution, then err on the side of thicker icing in order to minimize running and blurring. Remember: you can always adjust the icing consistency whenever needed by thinning with additional water, or thickening with powdered sugar.

4 | Work with one cookie at a time. With one hand, hold the stencil firmly against the cookie top. (When there isn’t a lot of room for my fingers on top, I’ll use a trussing needle or toothpick to steady the stencil.) Check to make sure the stencil is still lying flush against the cookie top coat in all areas. With the other hand, grab a small offset spatula and spread a thin layer of icing over the openings in the stencil. The icing need not be applied any thicker than the depth of the stencil; otherwise, you’ll leave peaks in the icing when you lift off the stencil. However, be sure to apply enough icing so you can’t see through to the top coat. Most important: Do not move the stencil while applying the icing, or the resulting pattern will be blurred.
5 | Lift the stencil slowly and steadily off the cookie; then wipe any icing off the bottom of the stencil before proceeding to the next cookie. For the sharpest patterns, wash and thoroughly dry the stencil after every 2 or 3 cookies. Do not rub the stencil dry, or you can damage the stencil. Instead, lay it flat between sheets of paper towels and gently pat dry.
For more stenciling details, check out Lesson 10 of my new video series, available on DVD here or in the link below.